Learn to reupholster a chair with these simple steps for a fresh, contemporary look.
Project Summary
Total Time: Approximately a day
Skill Level: Intermediate
Estimated Cost: $50–$200
Yield: One refurbished chair
This reupholstering guide walks you through recovering a chair—perfect for bringing new life to a roomful of memories or giving a new look to a flea market find. If it is sturdy enough, a bit of fabric and staples can give torn or outdated upholstery a makeover and give your chair a facelift.
Get Organized Before You Start
Gather all your tools beforehand to avoid mid-project runs to the store. If you’re missing gear, consider a DIY upholstery kit, though many essentials (like gloves) are likely already on hand. Wear closed-toe shoes for stable footing and to protect yourself from dropped staples or tools.

Credit: Jay Wilde
Before You Begin
Your starting point: take off what you already have first, then go looking for new material. Retain old upholstery as pattern pieces by labeling each (e.g. front seat, left side back, outside back) and photographing the chair before you take anything off. Include Seam direction, welting, and corners notations. Purchasing extra material always trumps being short in the middle of the project.
Tools & Materials
Tools: needle-nose pliers, camera or pencil and notepad, marking pen, scissors, staple gun, straight pins, sewing machine, flathead screwdriver
Materials: 3/8″ or 5/16″ staples, 1/2″ batting, upholstery fabric, polypropylene welt cord, chalk, upholstery thread, tack strips, painter’s tape, optional fabric glue or decorative tacks, breathable black fabric for the underside
Step-by-Step Instructions
Remove Old Fabric

Credit: Marty Baldwin
Take apart as needed, and carefully remove upholstery pieces to preserve pattern. Before disassembling, get full-view and close-up photos. Label each piece (e.g., seat front, seat sides) and note orientation and welting position. Keep tack strips and welting as measuring references.
Remove Batting & Inspect Framework

Credit: Jay Wilde
If necessary, remove outdated batting. Check support elements like springs or webbing and replace if needed. Sand, prime, and repaint frame or legs if desired. Staple new ½″ batting to seat and back, gently pulling excess tight to cover staple impressions.
Create New Template
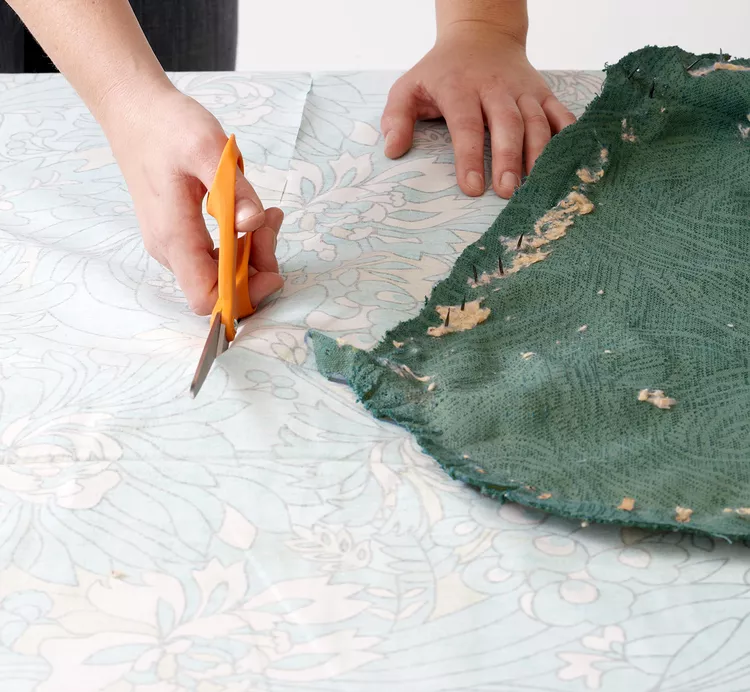
Credit: Jay Wilde
Position each pattern for the former piece on back side of new material, aligning grain and prints. Pin, and cut 2–3″ material beyond stapled edges. Mark seam lines, orientation, and welting points with chalk. To make installation easier, sew seat and back pieces into fitted covers before installing.
Attach New Fabric Base
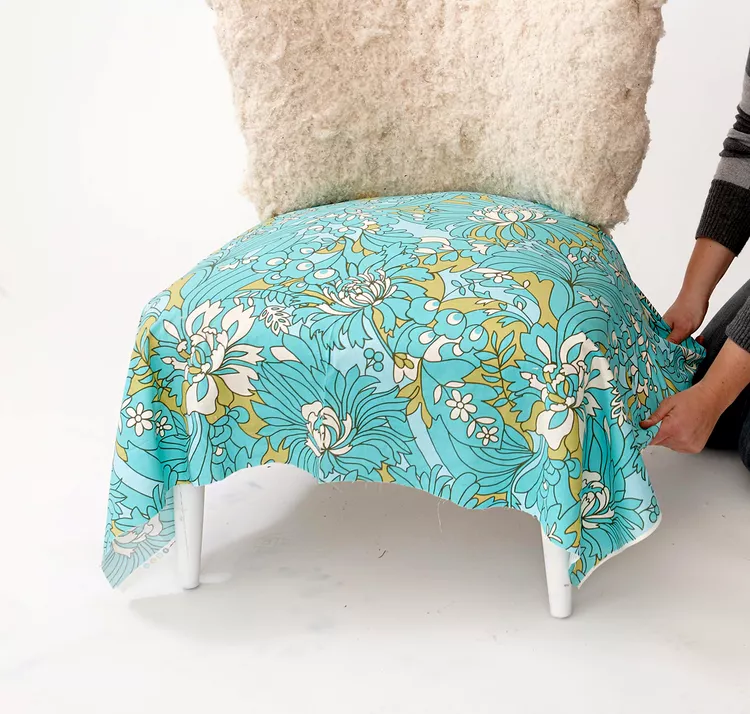
Credit: Jay Wilde
Mount new back and side panels to align with photos and marks. Trim and fit templates until properly fitted. Tighten fabric and staple over apron and chair frame. If seat covers are utilized, fit tight, front to back, and tuck in corners.
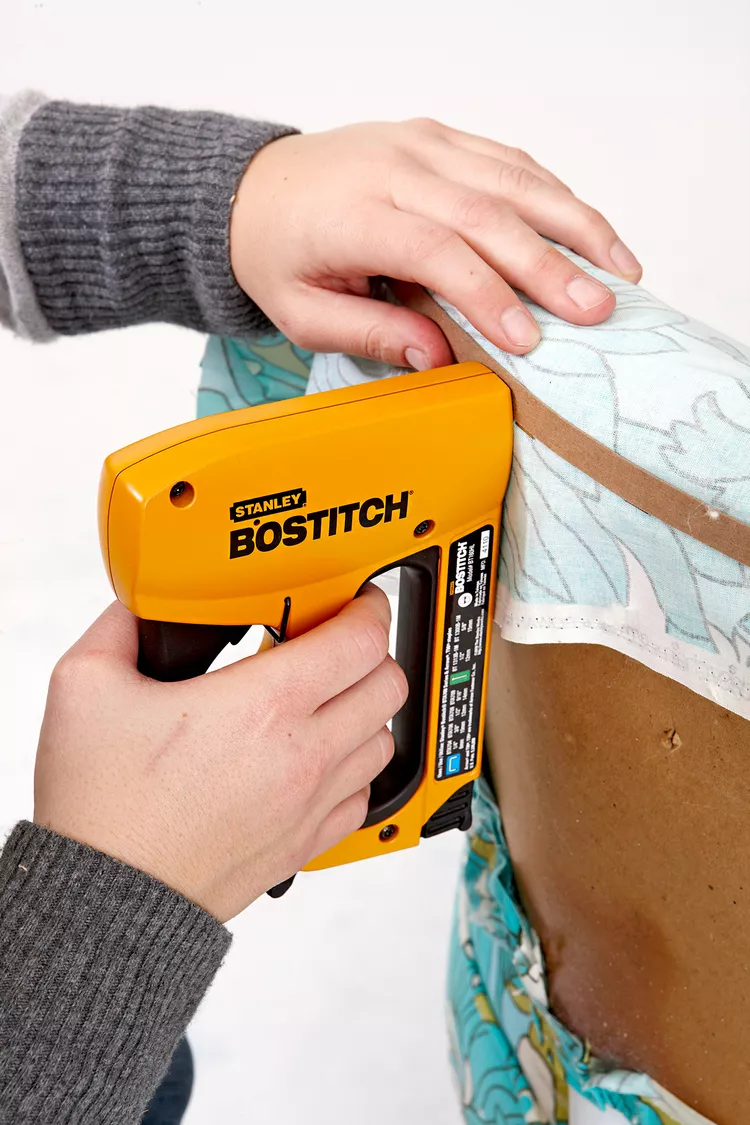
Add Welting & Side Panels

Credit: Jay Wilde
Take old welt length and cut bias strips (~2″ wide) to match, leaving extra. Sew strips over cord and mark seam ends, turning ends under for neat finish. Secure welt along waistband lines and seat fabric panels with zipper foot. Use tack strips beneath welting to create attachment support prior to stapling fabric around edges and trimming.
Attach the Back Panel
Credit: Jay Wilde
Align back cover, bond top corners with tack strips and stretch tight to base. For covers, stretch fabric tight and staple over former staple lines. Tuck and cut off excess fabric for a clean finish. Reassemble frame as required.
Complete Underside of Chair
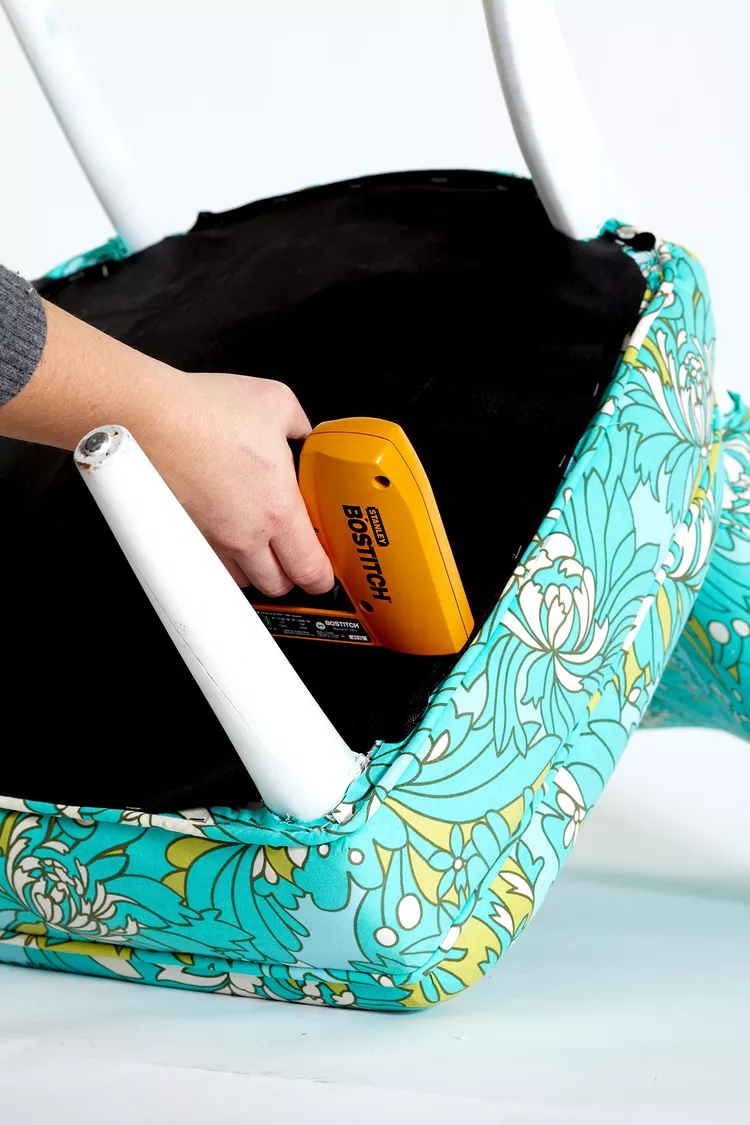
Credit: Cameron Sadeghpour
Cut breathable black fabric to fit the old underside piece. Flip chair over and staple dust-cover material tightly underneath it, covering raw edges and springs. Tighten adhesion tightly around welt and inside joints.
What’s Next?
Once you’ve learned the craft of chair reupholstery, try other home decor DIY projects to personalize your home. Renovating furniture through repainting, applying peel-and-stick wallpaper to camouflage the back of a cabinet, or stenciling tile and walls with flair—these DIY projects yield stylish and affordable decor solutions that are all about you.