Create Marbled Paper at Home—Vibrant Art in a Flash using Stuff You Have.
Credit: Buff Strickland
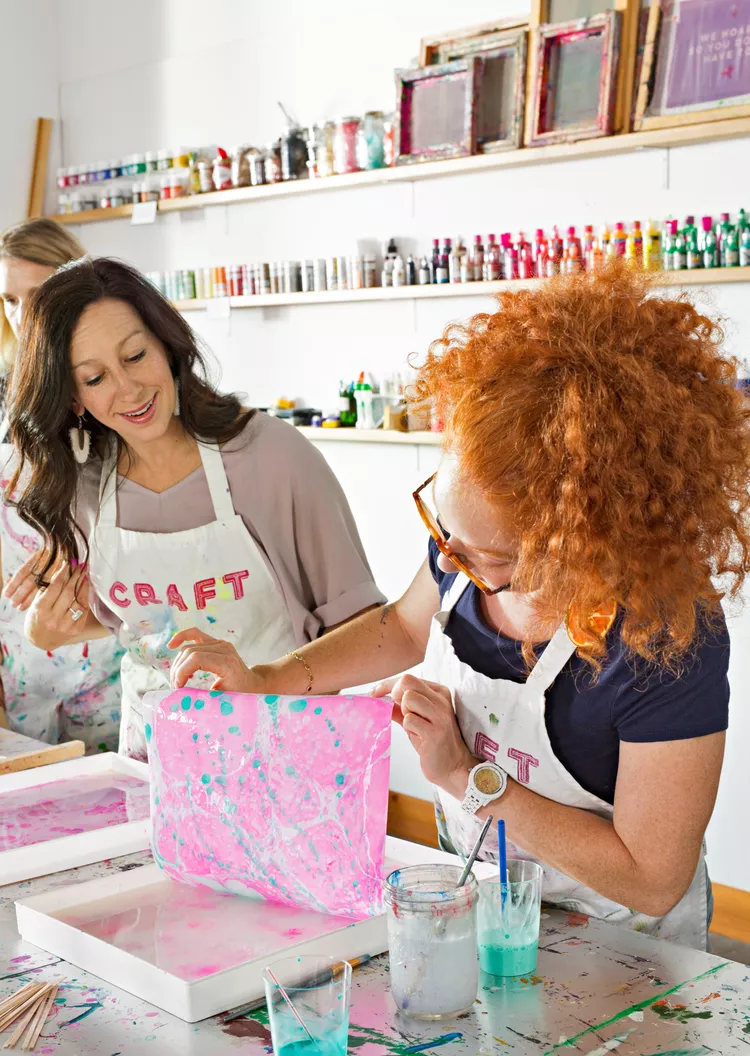
Add to your supply of homemade art with everyday household supplies (or select materials for about $10). It’s a laid-back, enjoyable marbling experience that uses craft paint diluted with water (about 2 tablespoons paint to 3 tablespoons water). Indoors or outside, it’s a quick, easy project to complete with children—and you can use spoons, straws, or toothpicks from home to achieve the swirling effect.
Marbling is about experimentation and creativity. As Heather Hale, creative director at Craft (a makers’ studio in Austin), says: “The process is so fluid and unpredictable … the result is beautifully unique.” Her tip? Be bold—you never know when one teaspoon difference alters the outcome completely. With that in mind, follow this simple method to craft your own marbled paper.
Marbled Paper: What You’ll Need
Craft paint (6–8 colors, warm and cool mix)
Disposable cups or jars
Two shallow trays (glass or aluminum pans, at least 2″ larger than your paper)
Water
Liquid starch
Alum (in the spice section)
Swirling tools (straws, spoons, stir sticks)
Paper (cardstock, construction, or printer paper)
Paper towels, clothes hangers, clothespins
Step 1: Set Up Your Workspace
Credit: Dean Schoeppner
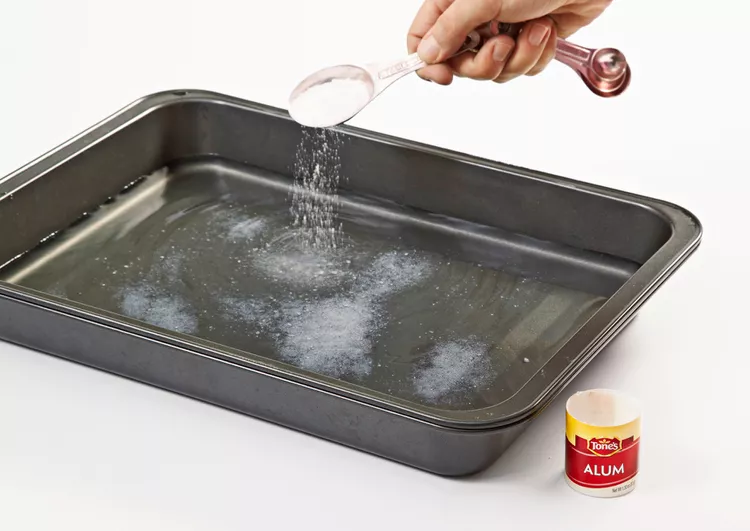
Cover your work surface with newspaper or a drop cloth. Thin each color: mix 2 Tbsp paint with 3 Tbsp water in separate cups. In the large tray, mix 4 cups liquid starch and 1 tsp alum. Fill a second tray with plain water. These trays need to be non‑plastic; cheap cake pans work great.
Step 2: Add Paint to the Starch Bath

Credit: Buff Strickland
With eyedroppers, straws, or spoons, drip thinned paint onto the starch surface. Start with a couple of colors in random small drops. Gradually add more colors—the paint should float and cling to the surface. Continue until nearly full coverage.
Step 3: Make Patterns
Credit: Buff Strickland
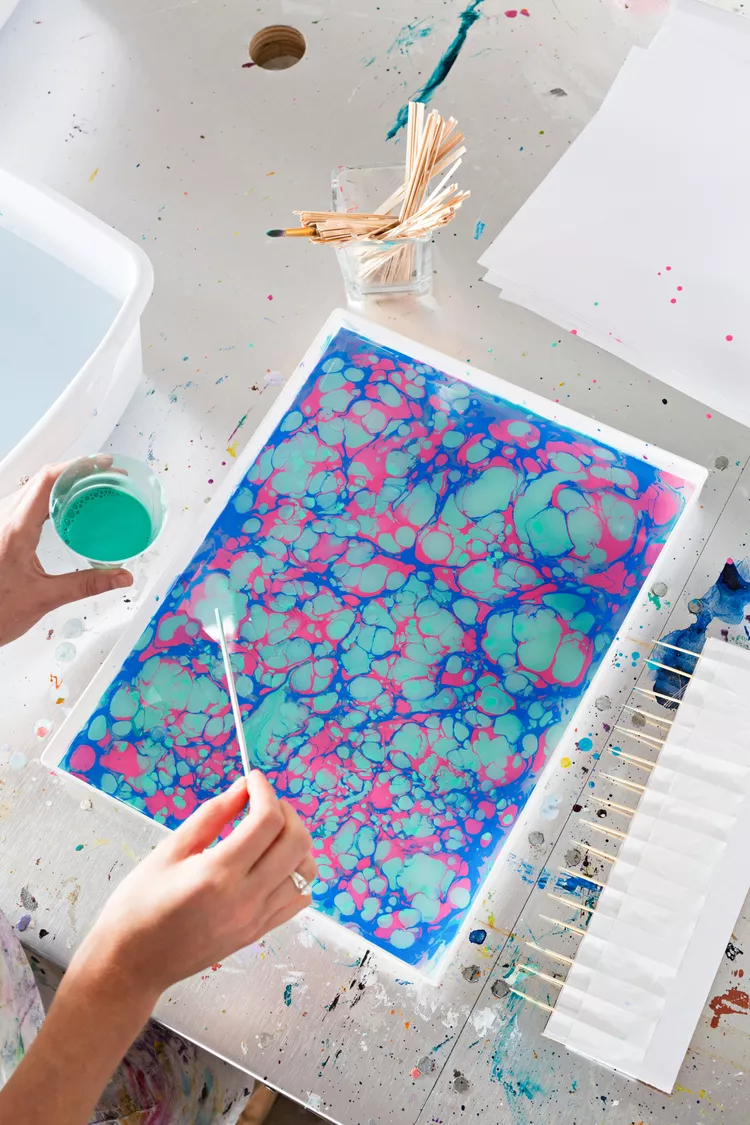
Make swirls and shapes by sweeping a straw or chopstick across the paint. Drop new paint into others to make concentric rings. Work slowly so the pattern can form naturally.
Step 4: Create Marbling Effects
Credit: Buff Strickland
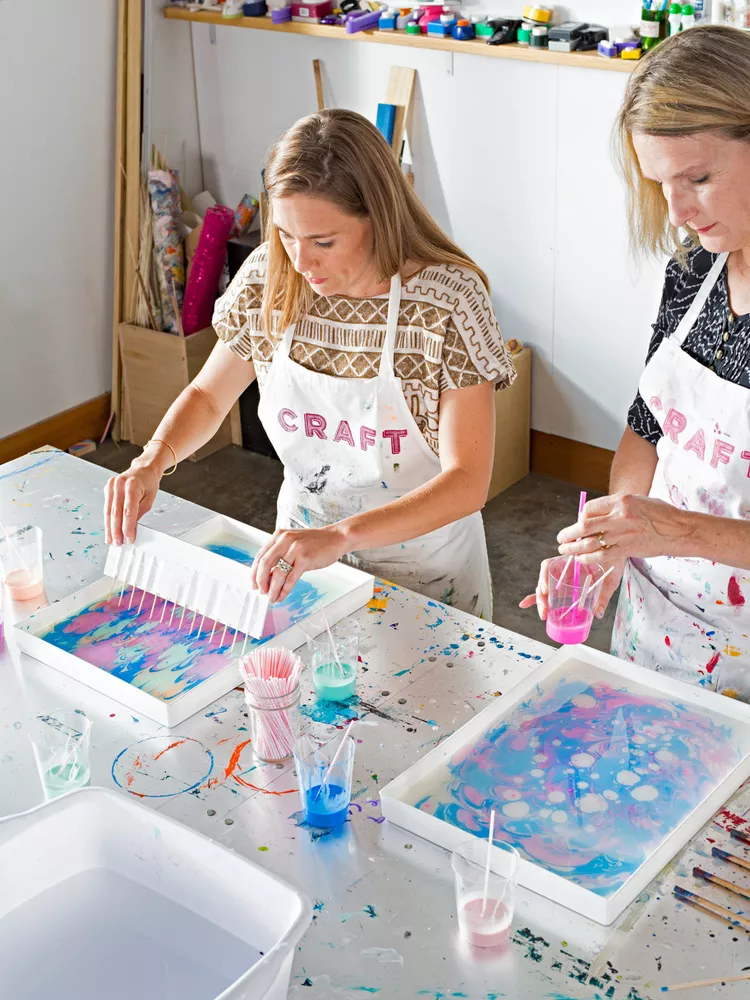
Construct an impromptu rake by taping toothpicks ½″ apart to cardstock. Use it to sweep through the paint in many different directions or zigs for feathered patterns. The pattern still forms, so keep paper nearby.
Step 5: Pattern onto Paper
Credit: Buff Strickland
Once you’re satisfied with the look, position a sheet of paper gently on top of the starch paint—don’t submerge it. Peel off slowly, then rinse in the water tray. Blot with paper towels to dry. Do it again with more sheets until the starch bath becomes cloudy (usually 3–4 prints). Then, replace the old starch and rinse through to prevent a clog.
Step 6: Complete Your Art
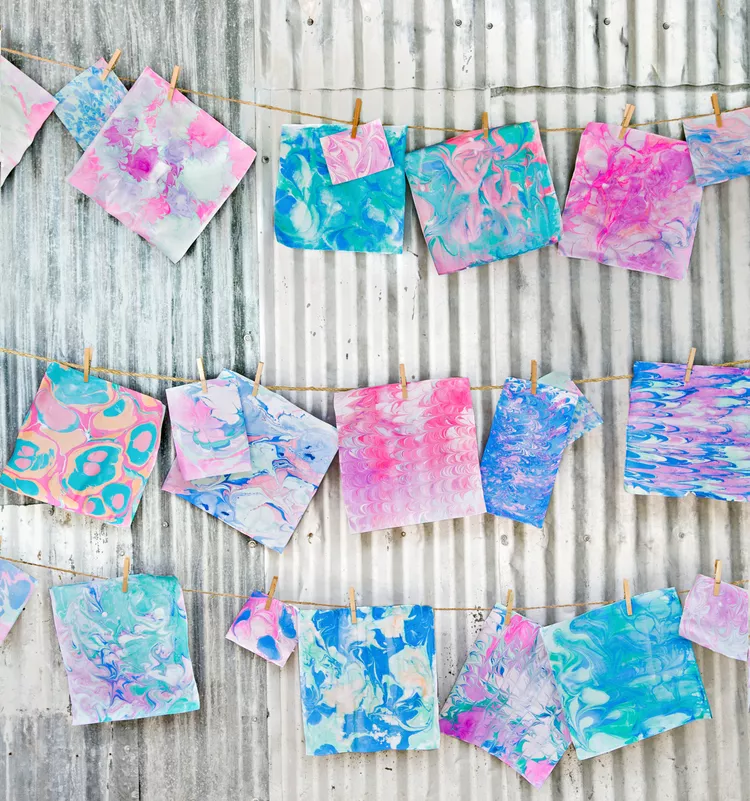
Allow the paper to dry completely, then iron it on the unpainted side to smooth out wrinkles. Display your marbled artwork on a clothesline with clothespins. Utilize the prints as framed artwork, gift wrapping, origami, or as tags.
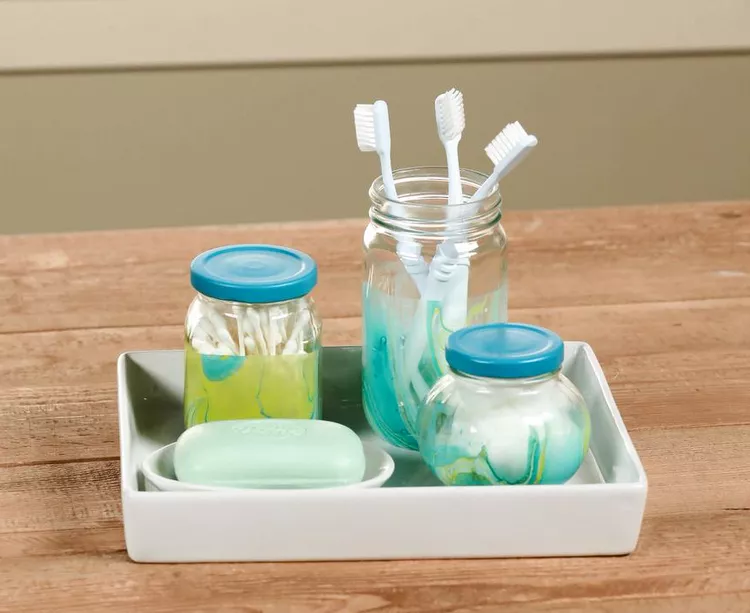
Bonus Project: Marbled Containers
Source: bhg.com
Practice marbling with nail polish on glass jars or containers.
Materials needed:
A throwaway bucket (large enough to submerge your jar)
Various colors of nail polish
A skewer
Glass jars
Paper towels
Decoupage medium (optional)
Instructions:
Water the bucket, then drizzle the colors of the nail polish over the surface. Work quickly before the polish dries.
Swirl gently with a straight skewer to create marble patterns, then lift straight out.
Hold jar top and slowly dip into layer of polish (stop ¾ of the way) and lift gently. Let excess drip back into tub. Don’t swish jar.
Let jar dry upside down on paper towels. For added durability, paint on layer of decoupage medium.