They cost less than candles purchased at the store—and are simple to create at home.
Project Overview
• Working Time: 30 minutes
• Total Time: 8 hours
• Skill Level: Beginner
• Estimated Cost: $25
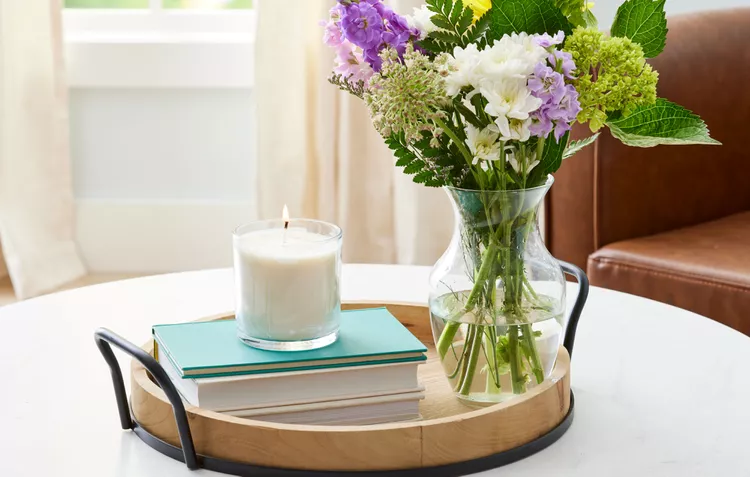
If you have a scented candle perpetually burning, you could be paying too much for ones that are bought in stores. Creating your own using your preferred essential oils saves not only money—but also allows you to make any fragrance you desire. And flameless, long-lasting options are also a budget-friendly option.
All you need is a candle-making kit, your favorite essential oils, and a nice, heat-resistant jar. When you’re ready, you can make multiple candles at a time—great for holiday, birthday, or just because DIY presents!
Credit: Jason Donnelly
What You’ll Need
Tools & Equipment
• Double-boiler pot or heat-resistant bowl over simmering water
• Silicone spatula
• Wick-centering tool or chopsticks
• Wick trimmer
Materials
• Candle wax
• Heat-resistant glass jars
• Essential oils
• Wax wicks
How to Make Your Own Candles
Use this simple guide to make homemade scented candles. Start with the basic recipe below, then personalize it with your preferred fragrances.
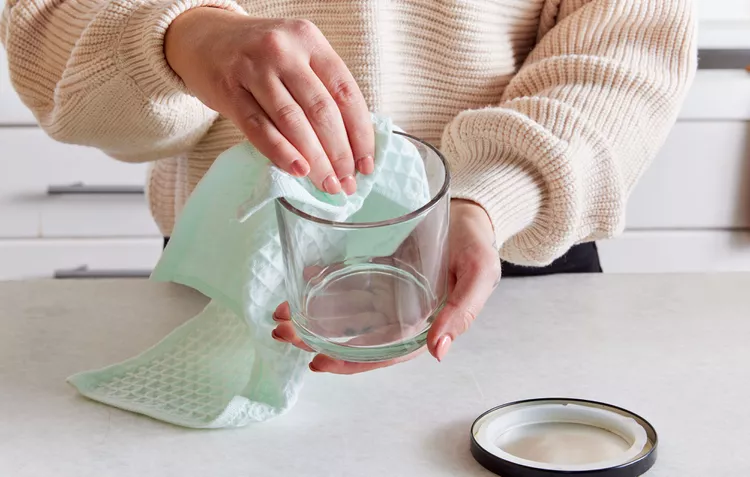
1. Prep Your Container
Credit: Jason Donnelly
Choose a solid glass container—16 oz Mason jars work perfectly. If you’re reusing an old candle container, clean it thoroughly before starting. When your jar is clean and dry, you’re ready to melt wax.
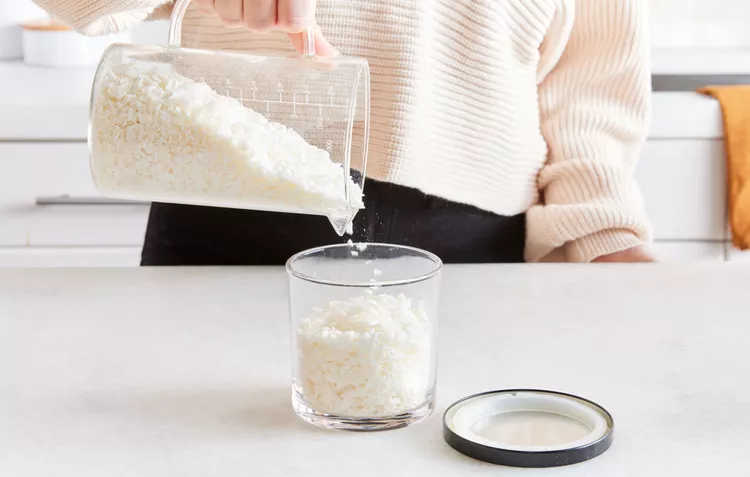
2. Measure Your Wax
Credit: Jason Donnelly
A candle-making kit is the most cost-effective purchase in getting wax, wicks, and wick tools all together. To determine how much wax you will use: fill your jar with flakes of wax up to your fill line. Pour them into your double-boiler pot, and then refill it and pour in the same amount—since melted wax shrinks.
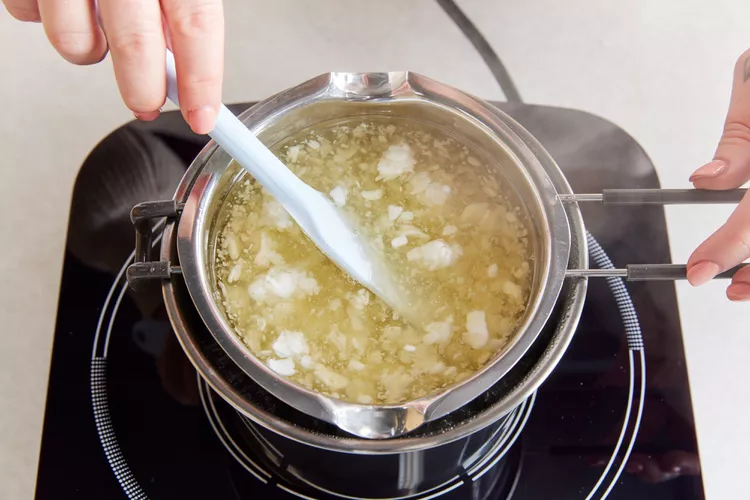
3. Melt the Wax
Credit: Jason Donnelly
Heat the flakes cautiously in a double boiler (or metal bowl over hot water). Stir slowly using a silicone spatula. Use inexpensive tools, like second-hand utensils, so you won’t worry about contamination.
4. Add Fragrance
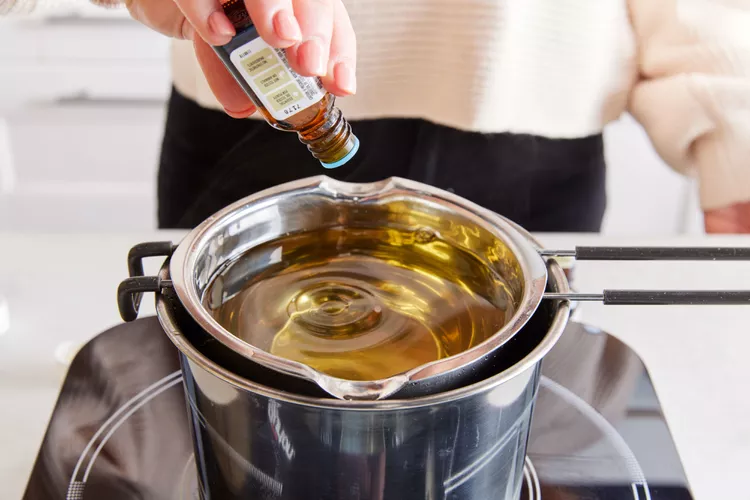
Credit: Jason Donnelly
Once melted, stir in 10–20 drops of essential oil—such as 6 drops eucalyptus and 6 drops lavender for a 16 oz jar. Oils have varying strengths, so start conservatively and adjust to preference.
5. Anchor the Wick
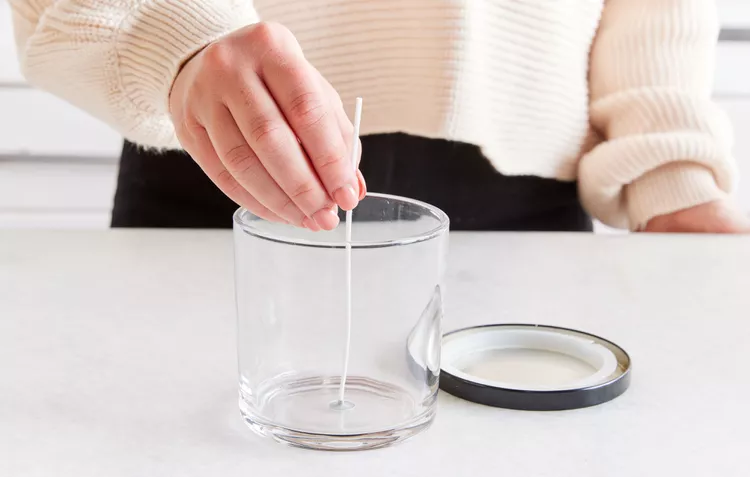
Credit: Jason Donnelly
Soak the metal base of your wick in melted wax and then secure it to the bottom center of the jar. Keep it in place until it is hardened vertically. Set a wick-guiding tool or chopsticks on top to secure it in the center as the wax dries.
6. Pour the Wax
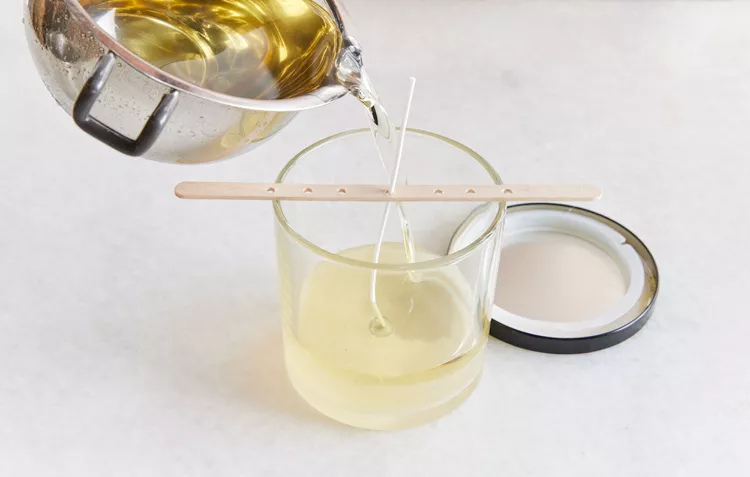
Credit: Jason Donnelly
Carefully tip the melted wax into the jar. If the wick is shifted, re-position it and hold it in place. Leave it centered until the wax has set.
7. Let It Set & Trim
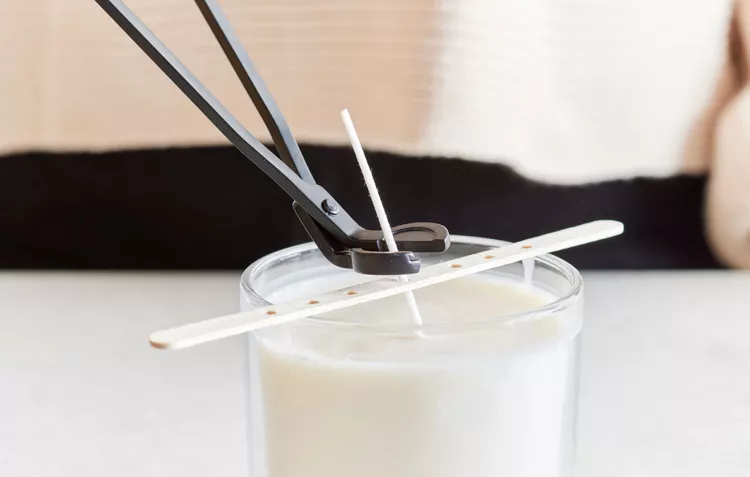
Credit: Jason Donnelly
Leave your candle alone for several hours—ideally overnight. When fully hardened, let the wick be trimmed back to about ¼ inch using scissors or a wick trimmer. This should be done every time you burn your candle.
8. Safe Candle Burning Tips
When lighting your candle, always remember to trim the wick prior to burning. Place it on a hard, non-burning surface—never paper or curtains. Monitor it when it’s lit and never leave it unattended.