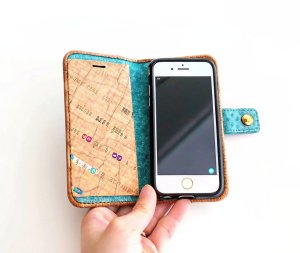
My original phone cover, particularly the flip front, had broken down, so I thought it was time to create a new one. I wanted to replicate the original case as closely as possible, utilizing the original as a guide and recycling bits like the magnets.
Materials Needed:
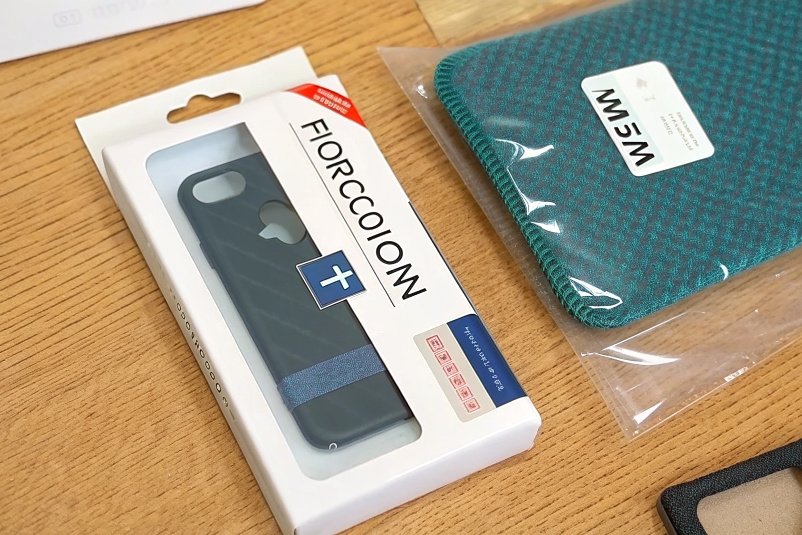
Flat back phone cover
Original phone cover (for templates and recycled pieces)
Ruler
Scissors
Craft knife
Seam ripper
A4 paper
Sewing pins & clips
Paper & pen/pencil
Cover material (your choice)
Sewing machine & colour-matching thread (black’s a safe choice, but do it by hand if you prefer)
Rotary cutter & mat (optional)
Clear strong adhesive (I’ve used UHU general-purpose glue)
Thin stiff card (though not too brittle)
Kraft-tex or stiffening stuff (optional; interfacing as a substitute)
Edge material for cover (I’ve used 0.55mm brown leather)
Step 1: Break Up Your Previous Case
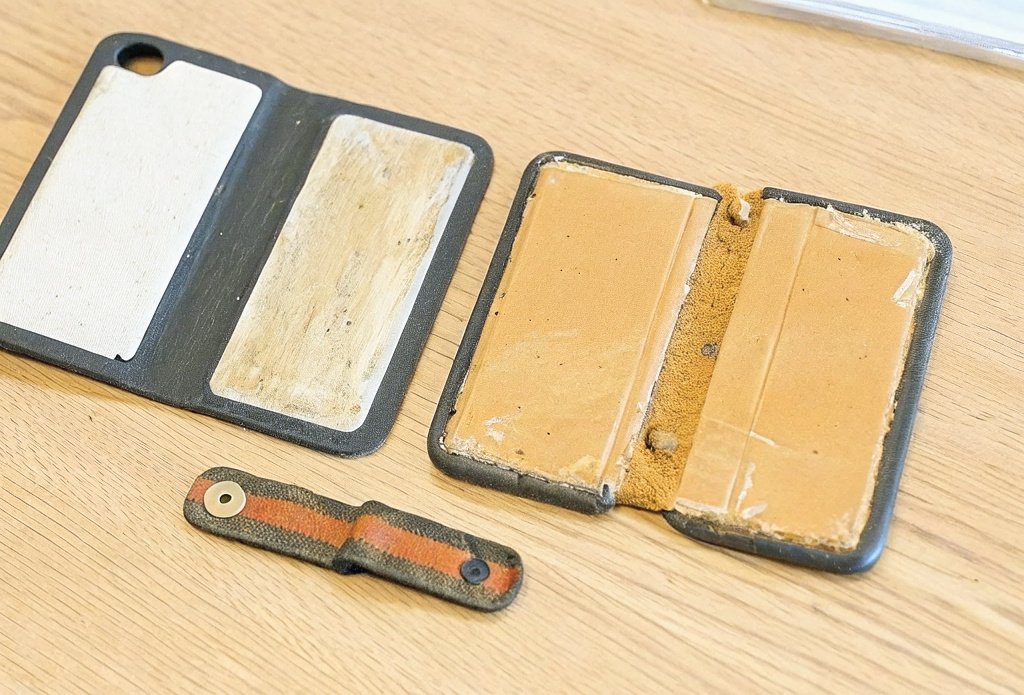
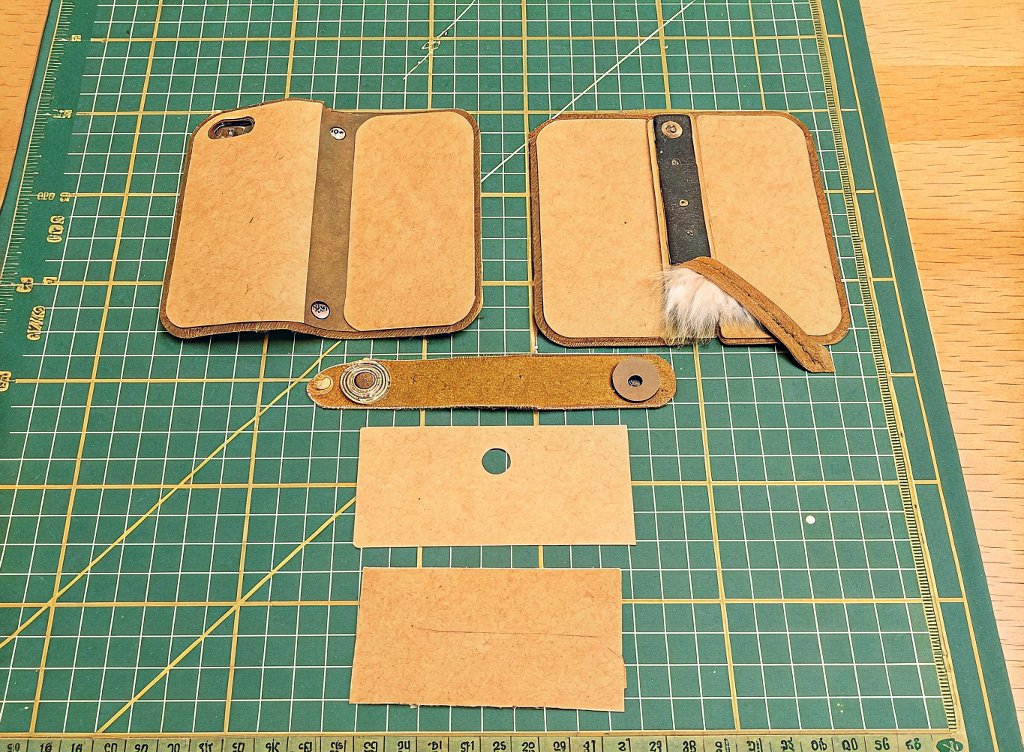
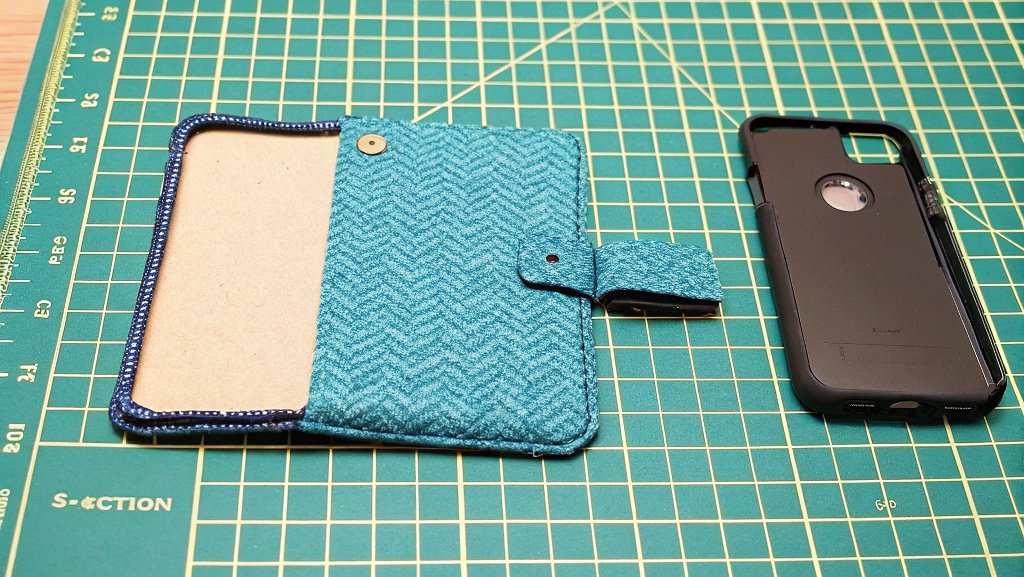
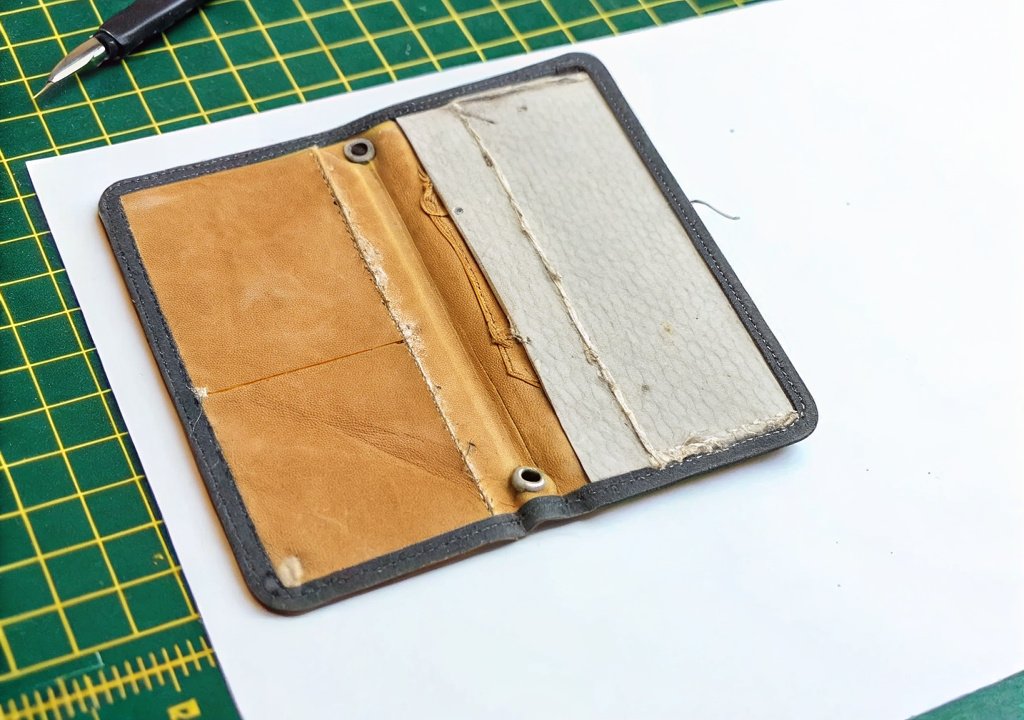
Begin with a seam ripper and some scissors to very gently dismantle your old case. Leave the parts intact since you will be utilizing them as a template. In mine for instance, I simply swapped out the complete outer material and inner card bits, but only reused the magnets (one of which is inside the strap, and the other inside the body) and the metal D-ring.
What you keep from your old case will be determined by how it is. Keep anything you can re-use, such as the phone stand or straps.
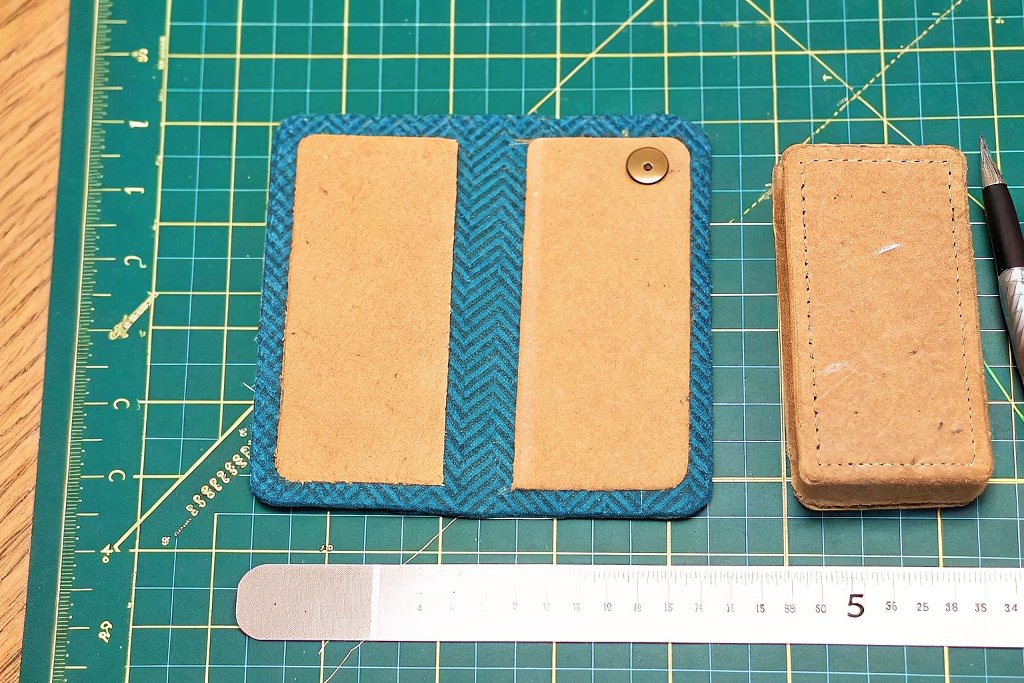
Step 2: Re-Make the Structural Inserts
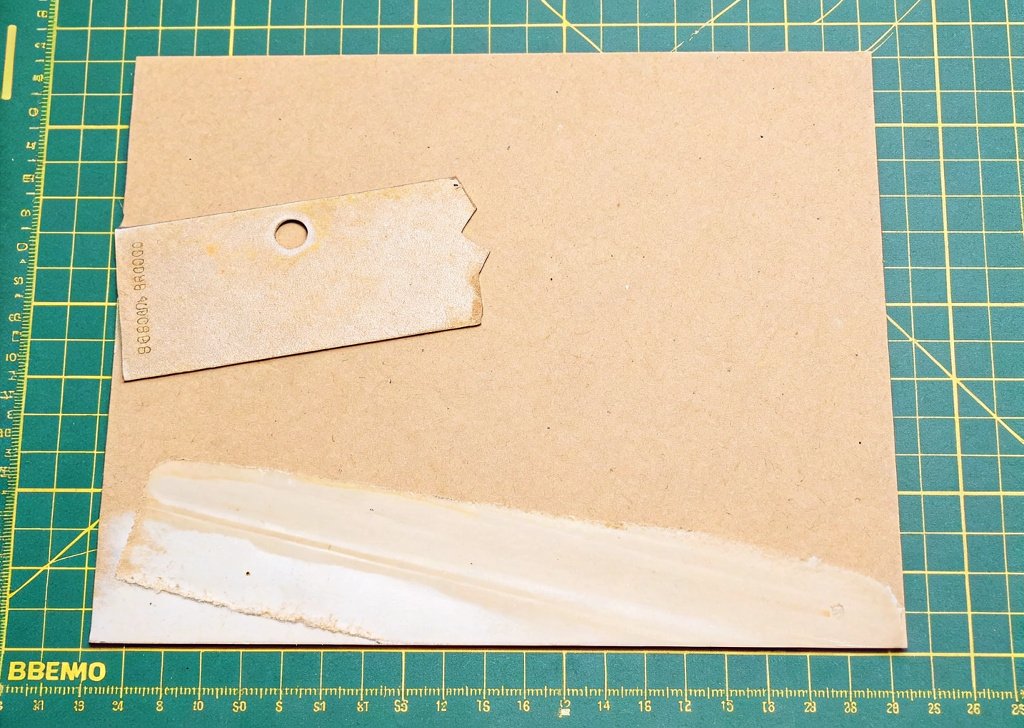
There were two thin card inserts in my old case. To re-create them, trace around these inserts on stiff card and cut them out. Use a craft knife to achieve clean cuts, like the hole for the magnet.
There were also thinner layers in the pieces of fabric that were glued onto the fabric. Instead of attempting to remove them, I cut new pieces of interfacing or Kraft-tex (a thin, fabric-like material) the same size as the originals. These will be easy to sew through.
You’ll be left with two card inserts and four interfacing pieces to attach to the back side of the front and back covers. Don’t forget to reinsert the interfacing into the strap, too. For the cover, I used tweed fabric with a small amount of interfacing where the magnet would be attached.
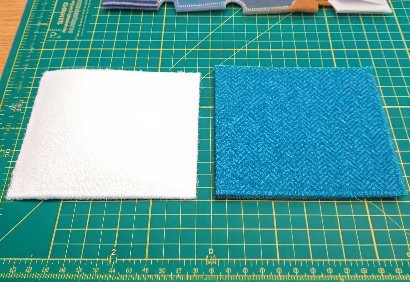
Step 3: Cut the Inner & Outer Cover Pieces
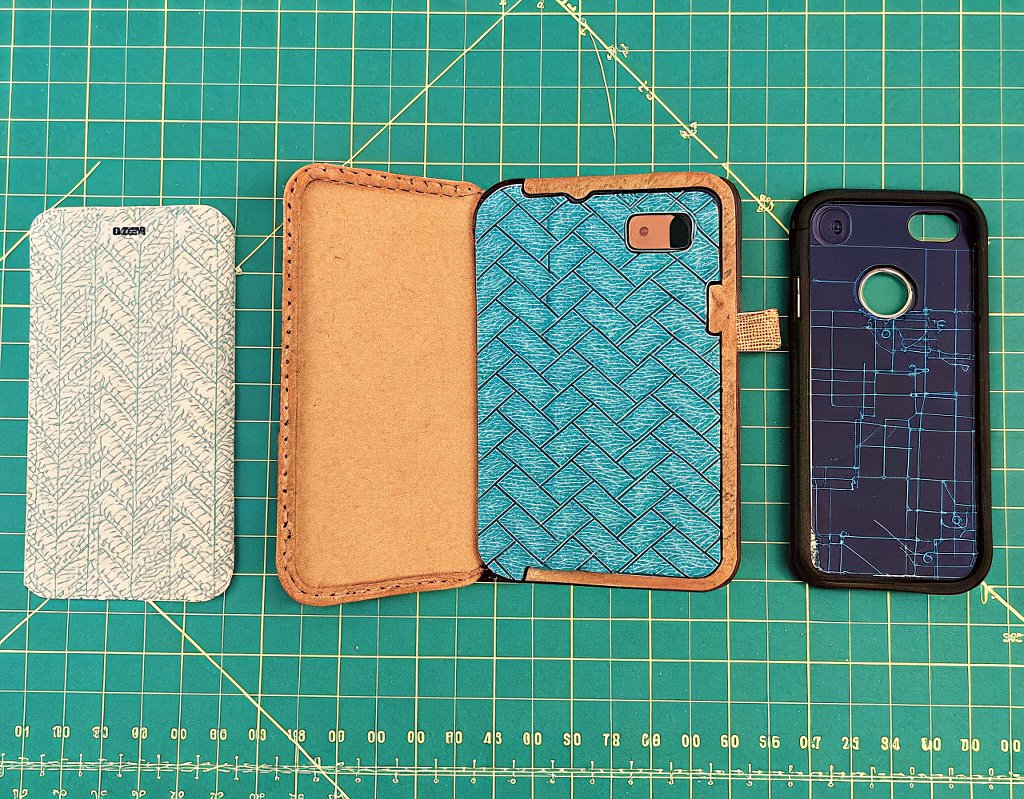
Trace the outer cover shape of your original case onto paper with a 1 cm seam allowance. Cut it out and use it as a pattern to cut two pieces of fabric: one for the outside and one for the inside.
To assemble:
Glue the interfacing or Kraft-tex pieces onto the wrong side of the outer cover.
If using iron-on interfacing, follow the instructions to attach it.
Glue the magnet into the gap you’ve left in the center.
Glue the card inserts on top, which will be aligned.
Add the second layer of interfacing or Kraft-tex on the top of the card inserts.
Place the inner fabric cover (right-side up) on the top of everything and glue it.
Do not glue the fabric edges or the center gap between the card inserts. Do not glue the seam allowance.
Once glued, place heavy books or objects on top of the « sandwich » to allow it to dry flat.
Step 4: Make the Straps
I initially planned on making two straps—one to shut the case and one on the top—but ended up abandoning the top strap since it was getting too bulky. So now I’ll focus on the middle strap, but the second strap can be made following the same procedure.
To create the centre strap:
Trace the original strap on paper, and cut out with 0.5 cm seam allowance.
Cut out two fabric pieces mirror-imaging each other and pin.
Glue Kraft-tex or interfacing on to the strap, 0.5 cm from edges.
Glue in gap and let magnet dry.
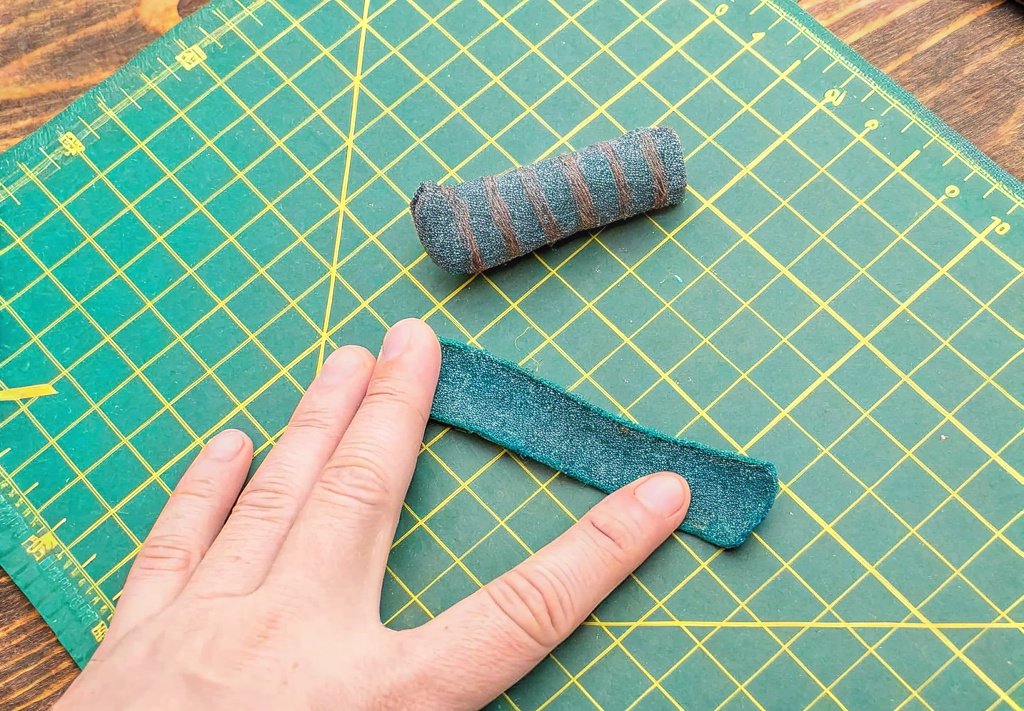
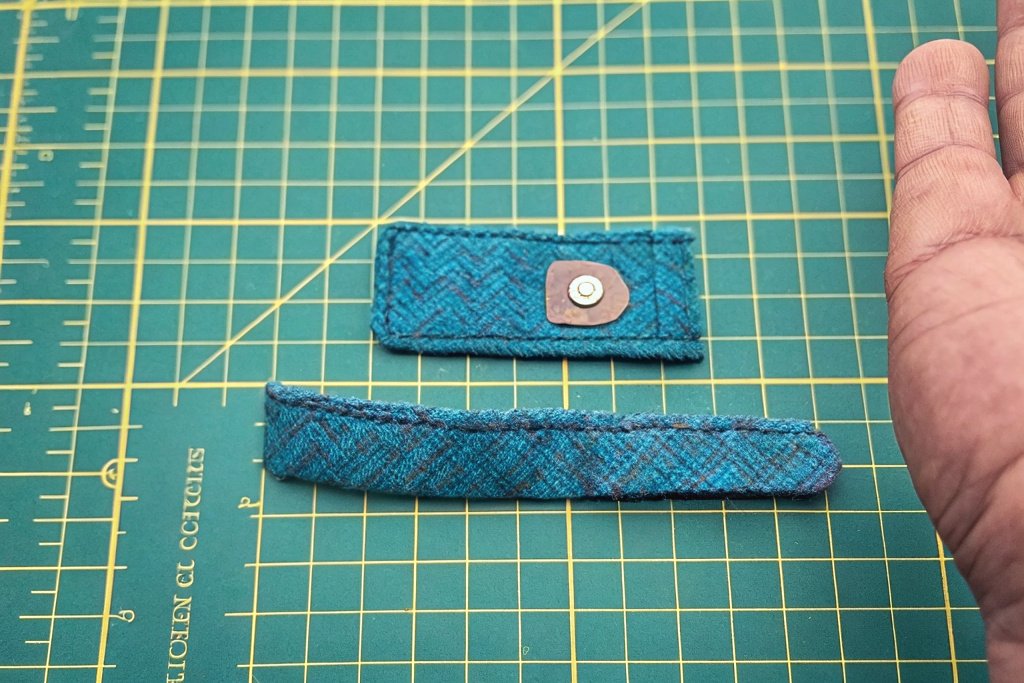
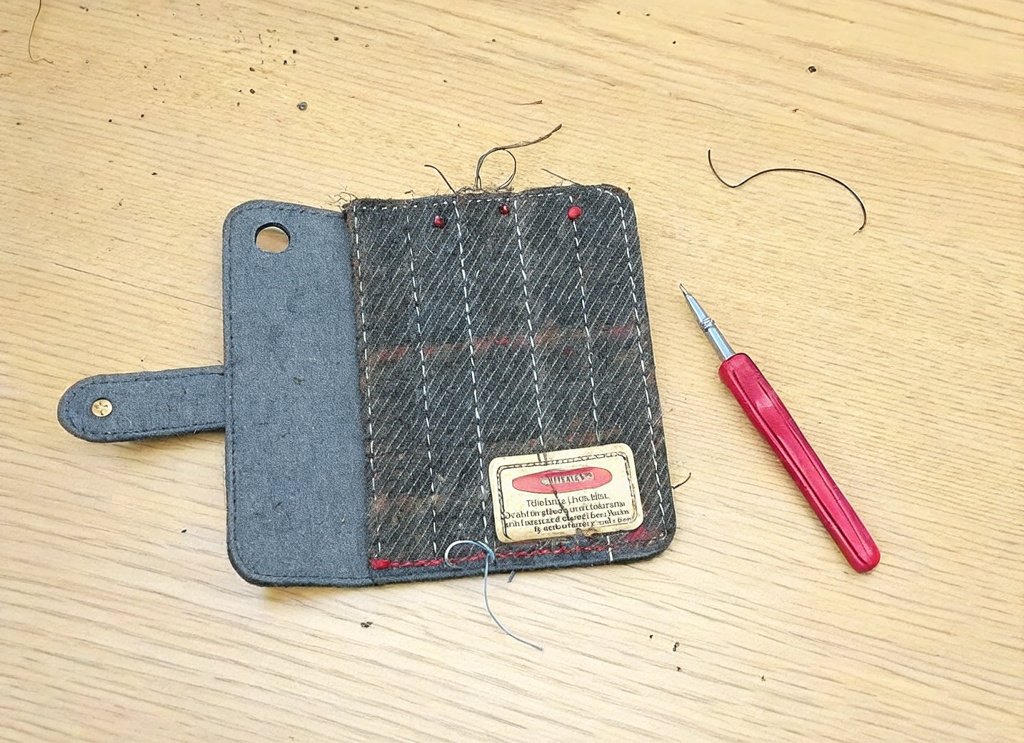
Step 5: Sew the Strap
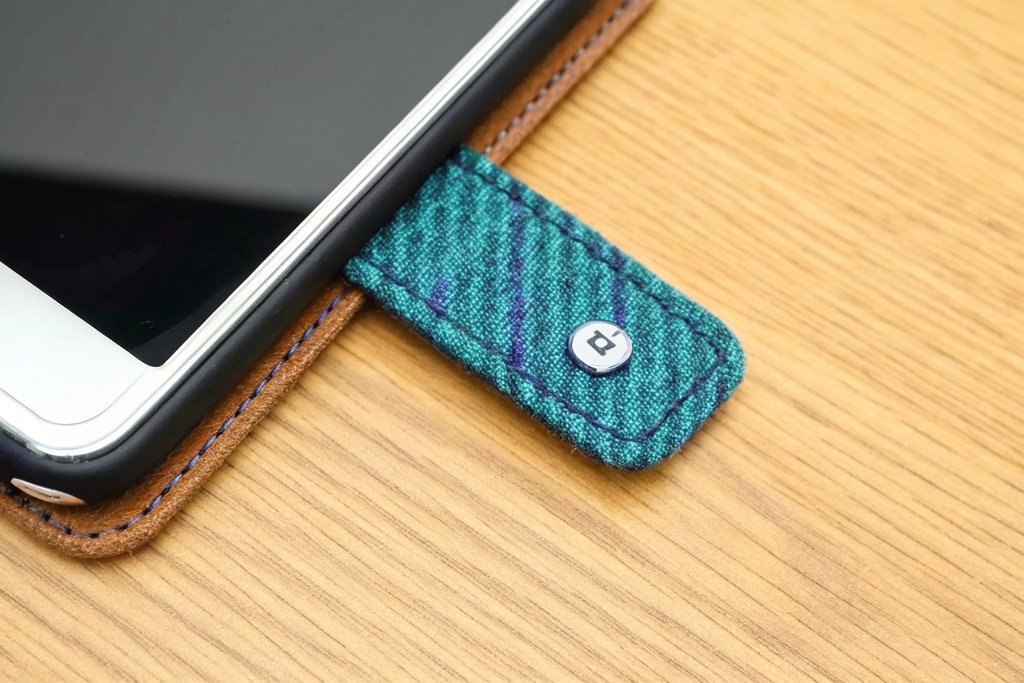
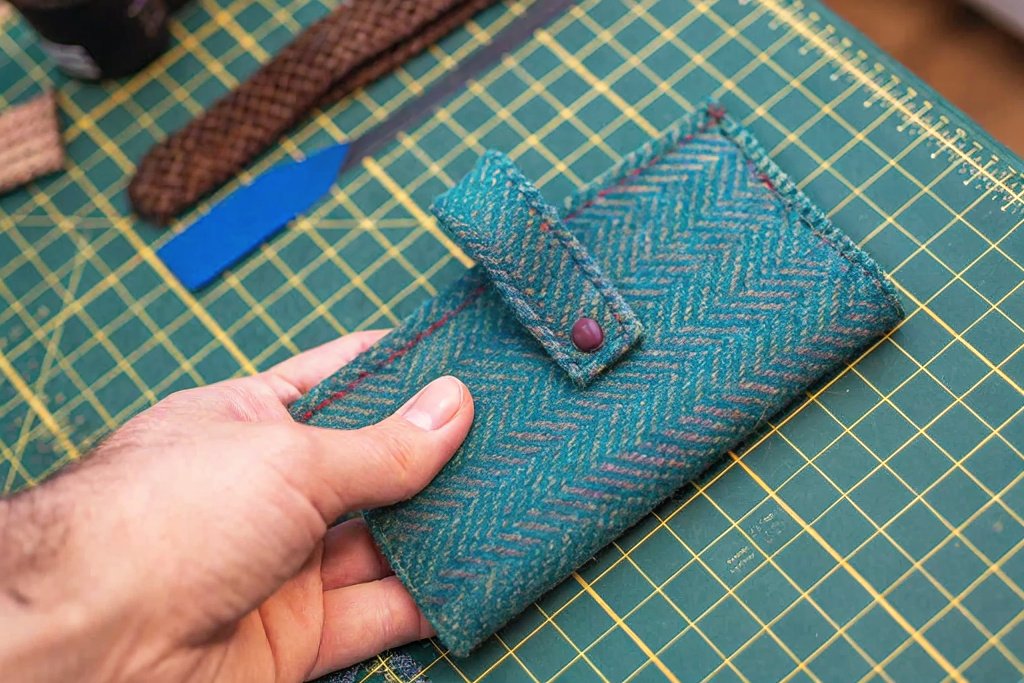
Sew almost all the way around the strap, leaving the ends open. Backstitch at the start and finish with a straight stitch. I used black thread, but you can use a color that will match better with your fabric.
Turn the strap inside out, fold the open edges in by about 0.5 cm, and press flat. Topstitch around the entire strap, but not the short straight edge.
Step 6: Fit the Strap to the Case

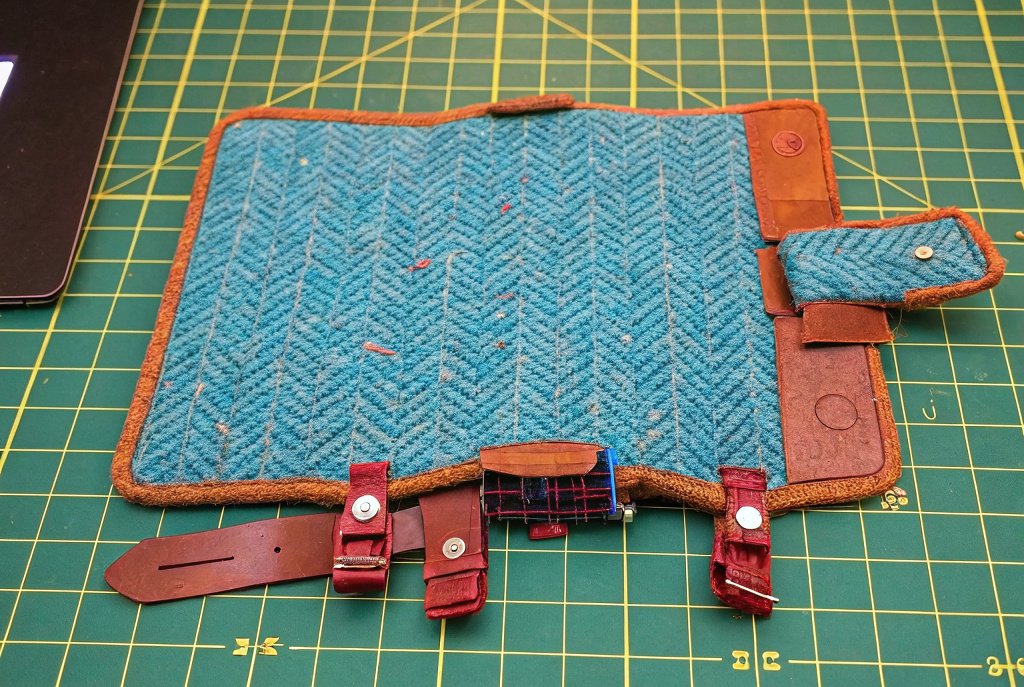
Slip the strap over the outside of the case so that the magnets are aligned. Turn the edges of the case inwards evenly and pin or clip them into place. Sew along the edge in a straight stitch, backstitching at each end.
If your strap is narrower than mine, you can sew it into the fabric sandwich, but I pinned mine in place on the inside because of its thickness.
Step 7: Secure the Strap

For extra protection, I zigzag stitched the edges of the strap, which also flattened it for the next steps. I also inserted a strip of cork fabric through the D-ring to act as a substitute for the original top strap, which I preferred.
Step 8: Add Leather Edging
For the exterior case edge, I used thin leather, but you can also use narrow bias binding. To achieve a clean edge, press the edges straight with a rotary cutter and ruler before cutting.
Cut the leather strips to about 1.5 cm wide and secure them along the case edge with clips (not pins, as they will go through leather). Topstitch the leather down slowly, backstitching at both ends, and stretch it gently around corners to avoid puckering.
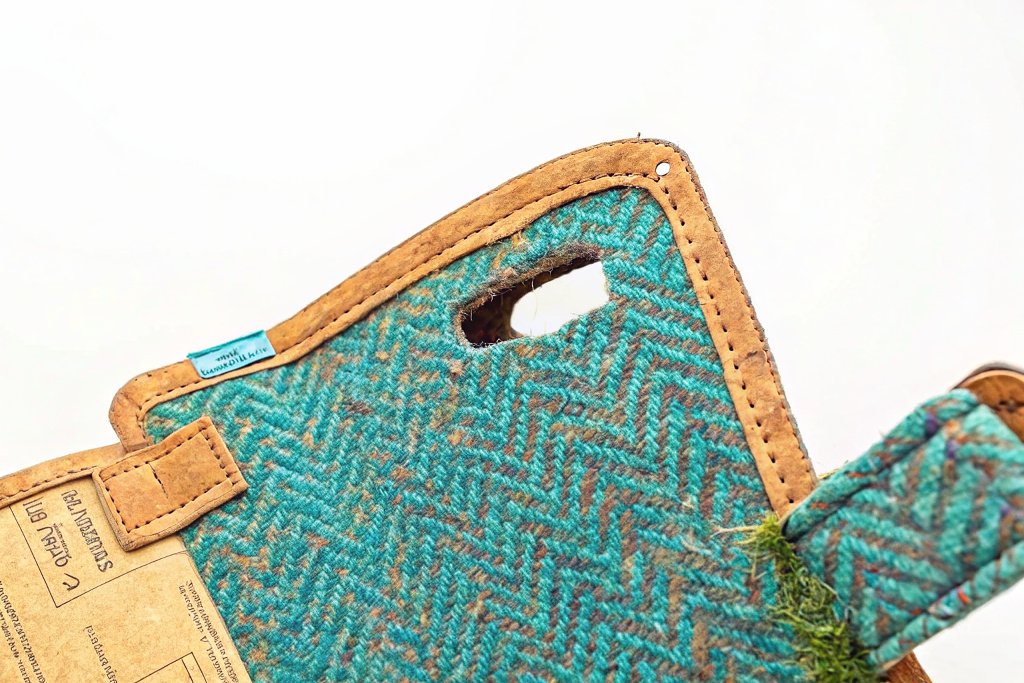
Step 9: Final Touches
And now for the finishing touches:
I glued a piece of cork fabric on the inside of the cover where it had a hole.
Cut the camera hole out using little scissors and glue in order to seal it so that it doesn’t fray.
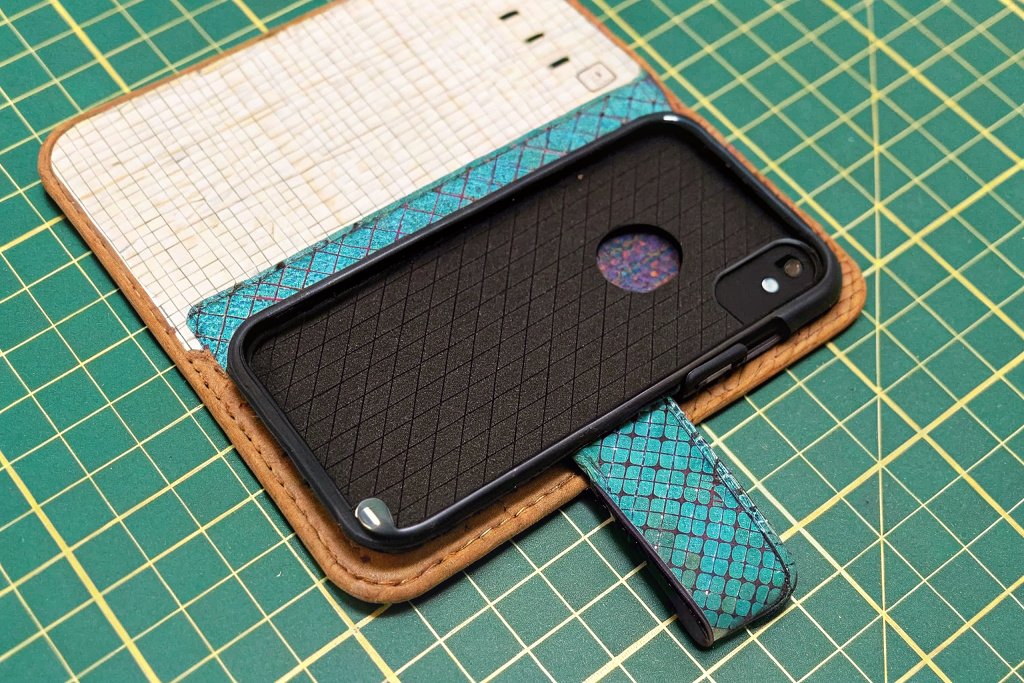
Glue in the protective case so that it fits well and is aligned with the cover.
If the magnet was too weak, I cut out a little circle of fabric to reveal the magnet and glued it in to keep it in position.
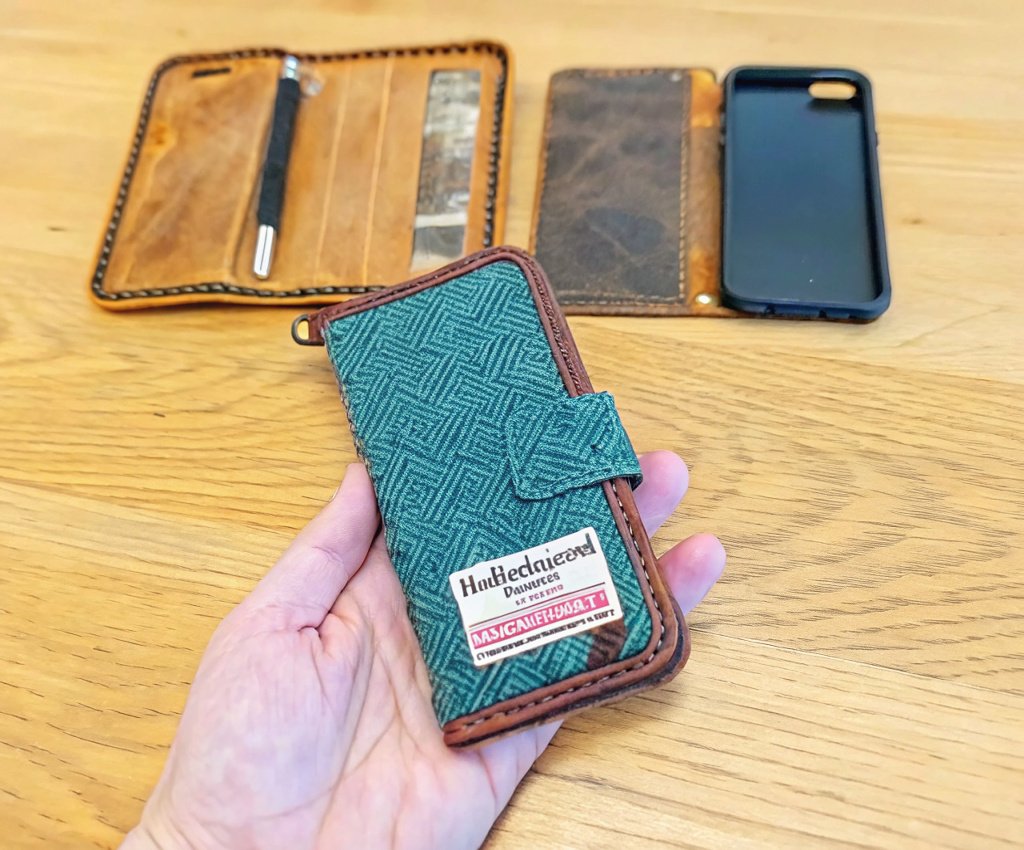
Finally, attach any label you wish and sew along the edges for finishing.
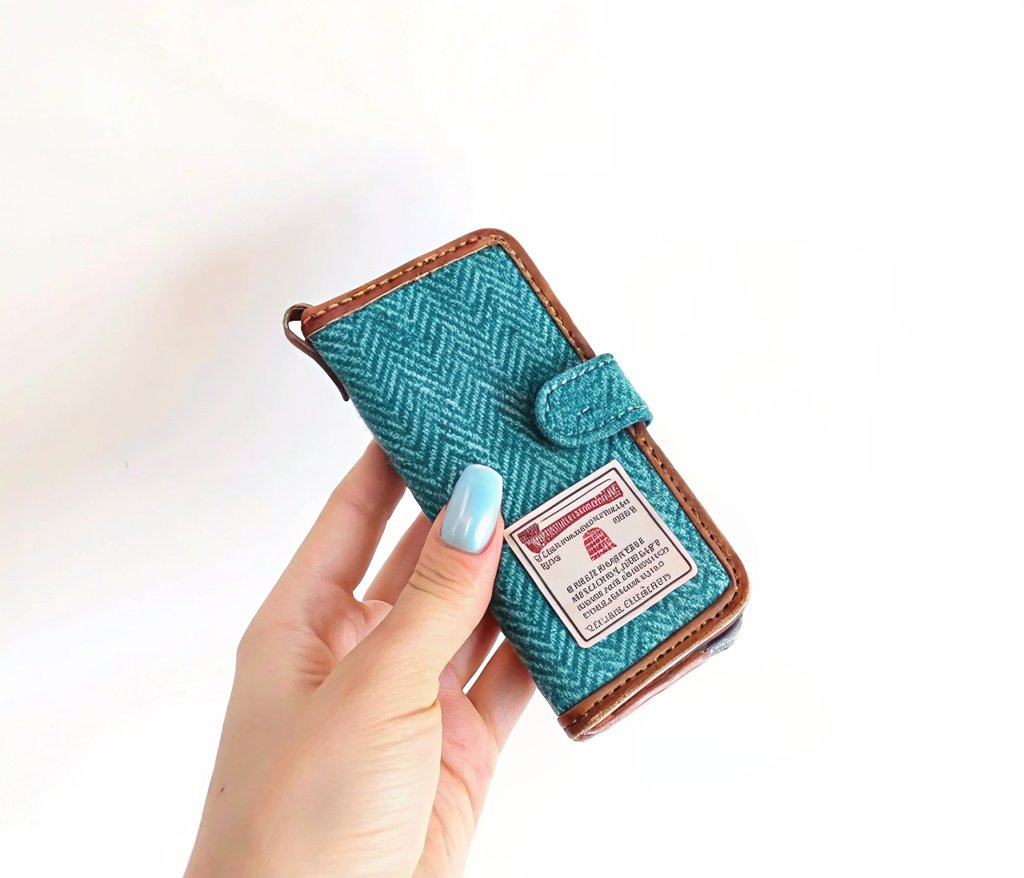
Step 10: Finished!

Congratulations, your phone case is complete!