Here’s how we cobbled together this RIDICULOUSLY simple window plant shelf! It took us under an hour to create, used zero fancy equipment, and cost us only $2 since we employed leftover wood we already had on hand. It’s one of those quick victories that’s got us wanting to go plant shopping all the more.
Source: younghouselove.com
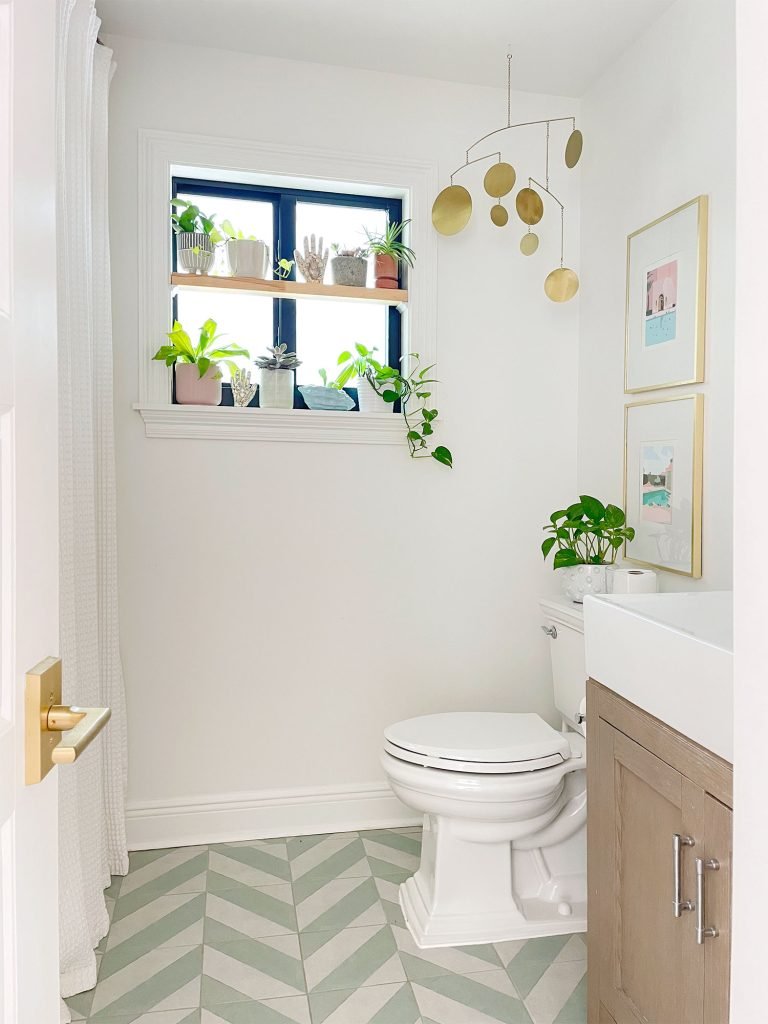
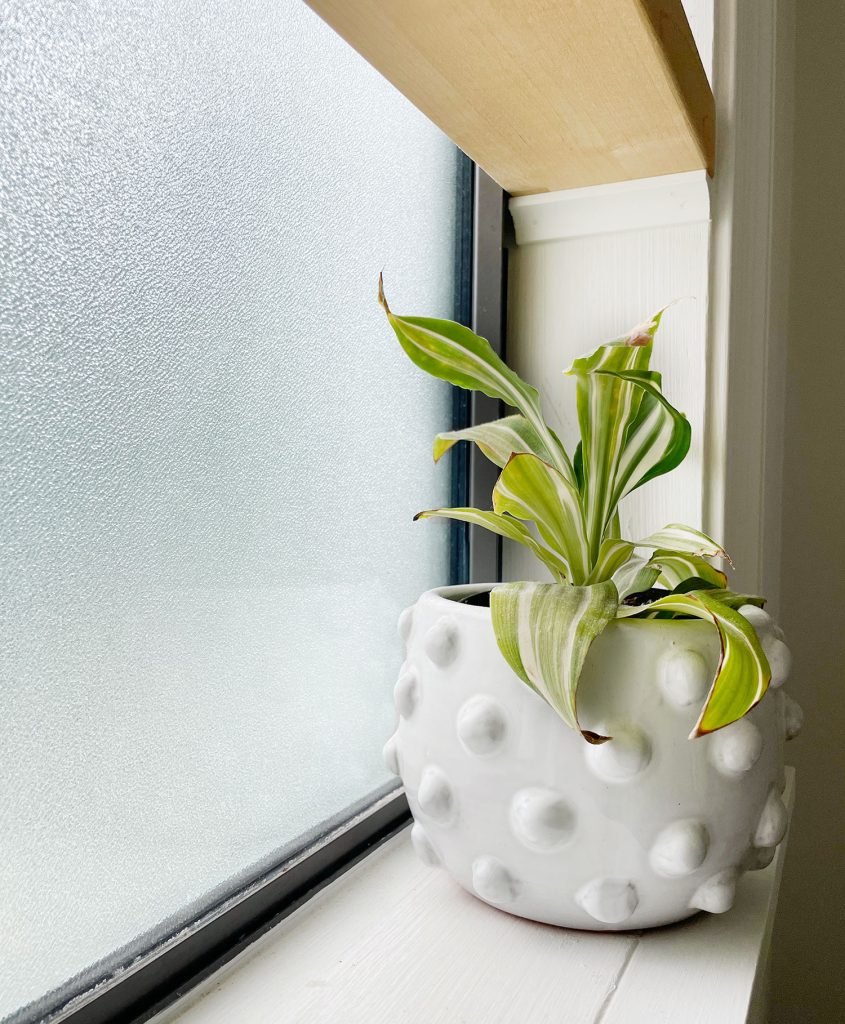
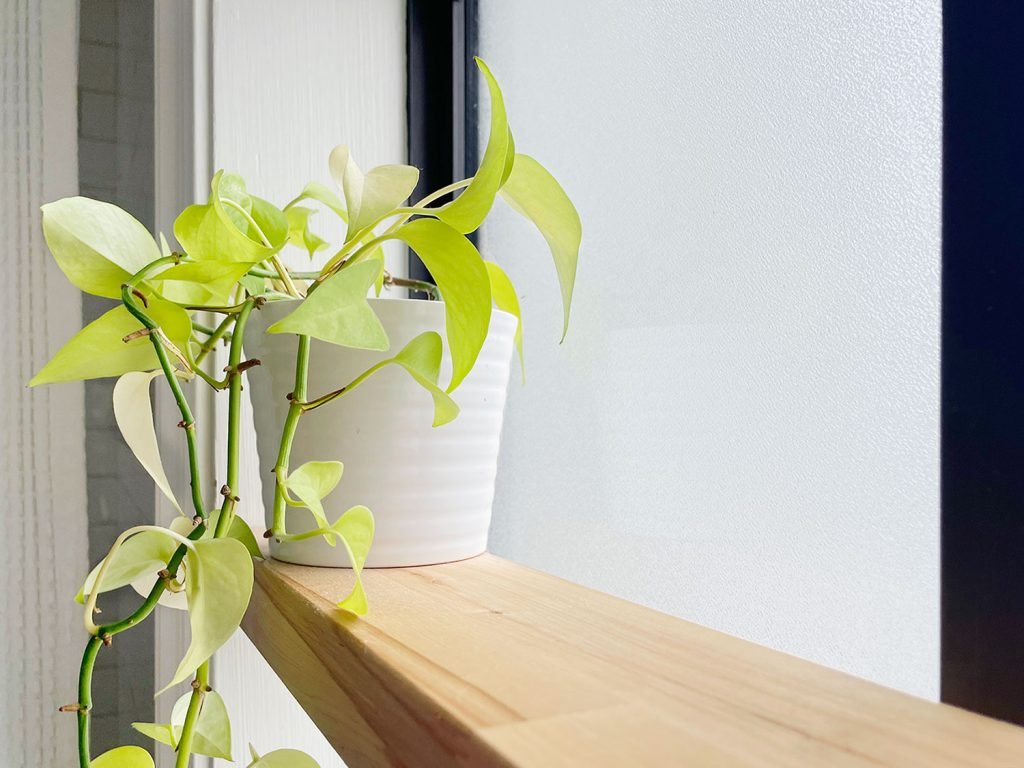
We’d already put a few plants in this window, but the floating shelf opened up space for many more! It completely transformed an ugly window into a showpiece, and all that light is making our plants super happy. You can scroll down to see what the space looked like before, along with all of the bathroom before-and-afters.
Note: We recently replaced our old windows (woo hoo!), so some of the pictures in this post reflect the new appearance. And yes, we put even MORE plants.
TOOLS & MATERIALS
Your window configuration might be a bit different, but here’s what we did:
Cove molding or quarter-round
Wooden board (we used leftover butcher block)
Saw (we used a circular saw, but a miter or table saw would be great too)*
Hammer & nails (or a nail gun)
Measuring tape
Level
Pencil
Paintable caulk
Paint (to match your trim)
Need a saw? No problem. Lowe’s or Home Depot will make the cut for you. For the thin pieces of molding, a hand saw would also do.
houseplant tips!
CHOOSING THE RIGHT WINDOW
Source: younghouselove.com
Not all windows are alike for this project, but ours checked a few important boxes:
It has a deep sill
It does not need curtains or blinds
It is not an egress window
Ours is about a 4″ deep sill—any less deep and plant pots would be cramped. While you can make the shelf stick further out into the room, we liked the flush look. And since it’s in a bathroom (not a bedroom), we didn’t have to worry about egress code—although we still made sure the window can open completely.
We secured the shelf with only a few small finish nails so it would be simple to remove if necessary in an emergency. That’s a thought to keep in mind before installing a shelf like this.
HOW TO BUILD A WINDOW SHELF FOR PLANTS
This was so quick that we didn’t even snap in-progress pictures—but the after photos speak for themselves! The original concept: a butcher block board placed on top of thin strips of cove molding.
We used leftover butcher block from a previous project because it’s actually super sturdy and looks great. But if you don’t want to spend money, by all means, you can use a regular 2×4 too. Just make sure the board is thick enough not to bow, especially if your window is wide (ours is 28″).
Source: younghouselove.com
We did not want clunky brackets, so we used low-profile cove molding that just blends into the trim. It basically gives the look of a floating shelf, and it’s actually very stable once it’s in.
STEPS TO MAKE YOUR SHELF
Cut your wood to window size (ours is 4″ wide x 28″ long), or get it cut at the store
Cut two cove molding pieces the same width as the shelf (4″ for us)
Measure and mark where the bottom shelf will sit on each side of the window casing
Nail cove molding into position using a level to ensure straight
Put your wood shelf on top and check for level one more time
Finish nail the shelf into position (we nailed up from the bottom into the wood)
Caulk nail holes and touch up paint
We just used regular 1.5″ finish nails straight from our nail gun—nothing industrial-strength because the shelf is kind of light anyway. You may even notice some nail divots we still need to fill (a second coat of caulk couldn’t hurt!).