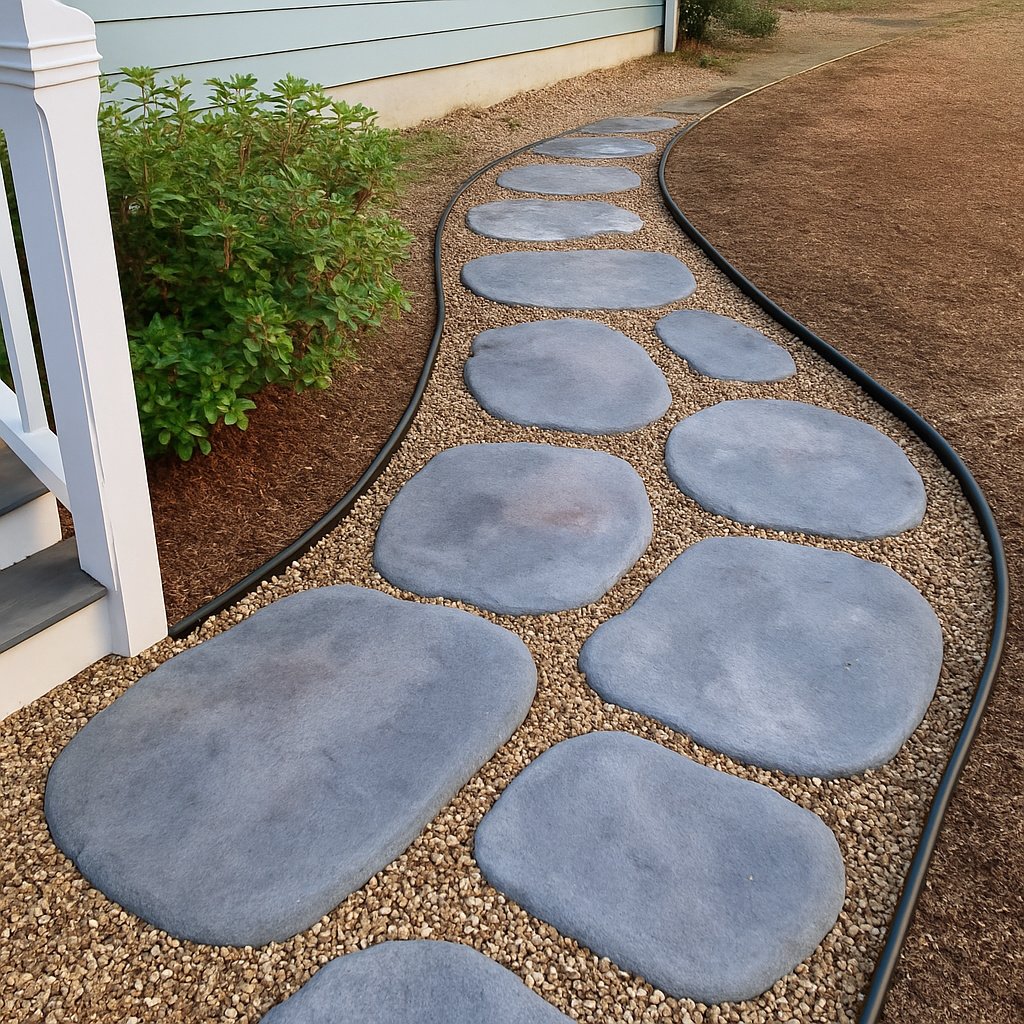
You can craft flagstone-style DIY stepping stones by coloring and sculpting concrete to look more natural.
When we moved into our rental, I quickly discovered that the front door was not the easiest entry point. The distance from the driveway to the door was lined with pebbles that formed a muddy, quicksand-esque area that was difficult to walk on. Hence, I decided to make my own stepping stones to make the path more appealing and functional.
Real stones were more expensive so I opted for concrete. Also, because concrete is self leveling, I did not have to spend an excessive amount of time leveling the surface.
Right before you get started, you will need to plan out how much concrete you will be needing beforehand. Initially, I tried using Quikrete’s online calculator but to my surprise, the numbers it provided me with were fairly off. So, to make calculating concrete easier for me, I imagined making 9 large stepping stones. In reality, I actually made 5 of them along with a few smaller stones. Instead of 9 of the large-sized stones, I had Approximately 3 feet wide, 2 feet long, and 2 inches thick. To put it into perspective, I used less than a full bag of concrete for each stone, so around 5 large stones could be made. So just to be safe, I would recommend one additional bag.
For my personalized molds, I went with the vinyl chair strapping (the stuff you can buy to fix broken outdoor chairs). If you want to save some money, you can probably use vertical vinyl slats. However, I would recommend watching my video since it is easier to understand the steps of molding and coloring when shown.
Colors and Patterns
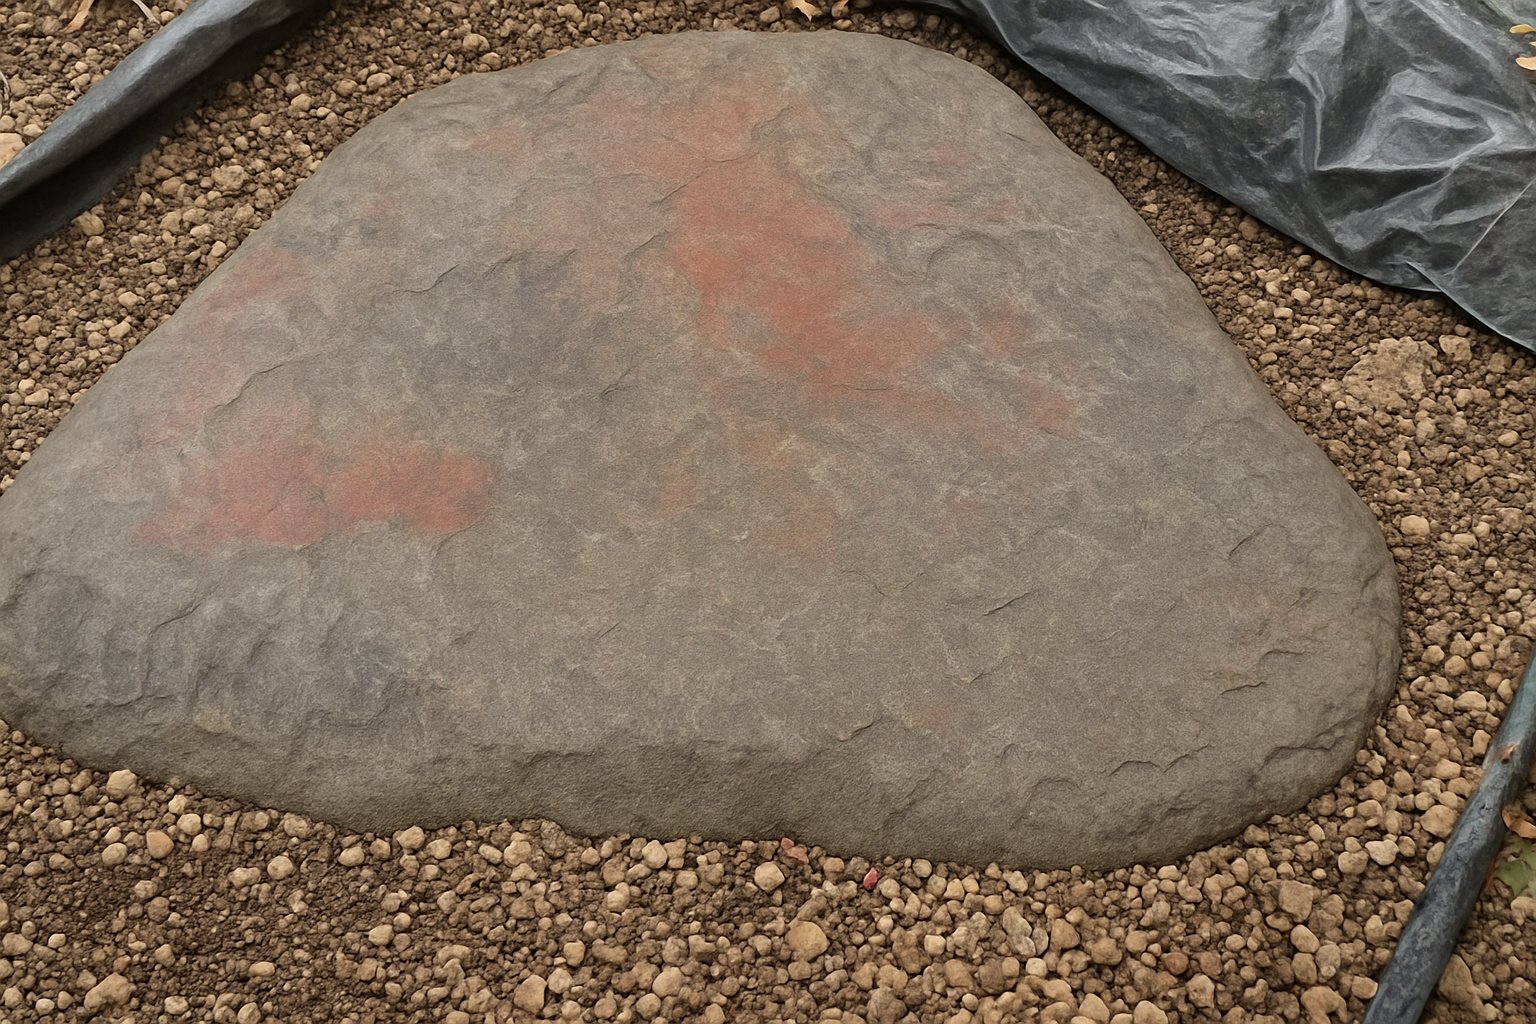
With these stepping stones, one that was a must for me is that they look as natural as possible. I seeked that they are fieldstones in color and shape. Fieldstones come in every shape and size you could imagine, you could google image search them and see which type you fancy.
For peinture, I utilized the Quikrete Sand Topping Mix which cured to a frost pale grayish white shade. I was astonished at how pale the stones came out, so I would highly recommend making some test pieces first to have some semblance of the tone. Make two test stones, one large one with dimensions of roughly 1×1 and 2 inches deep with brush-on colorant, and a second smaller one measuring around 6×6 and 2 inches deep with the charcoal colorant mixed in. Allow these test pieces to cure for at least three days (a week is optimum) so you can see how the colors will better appear.
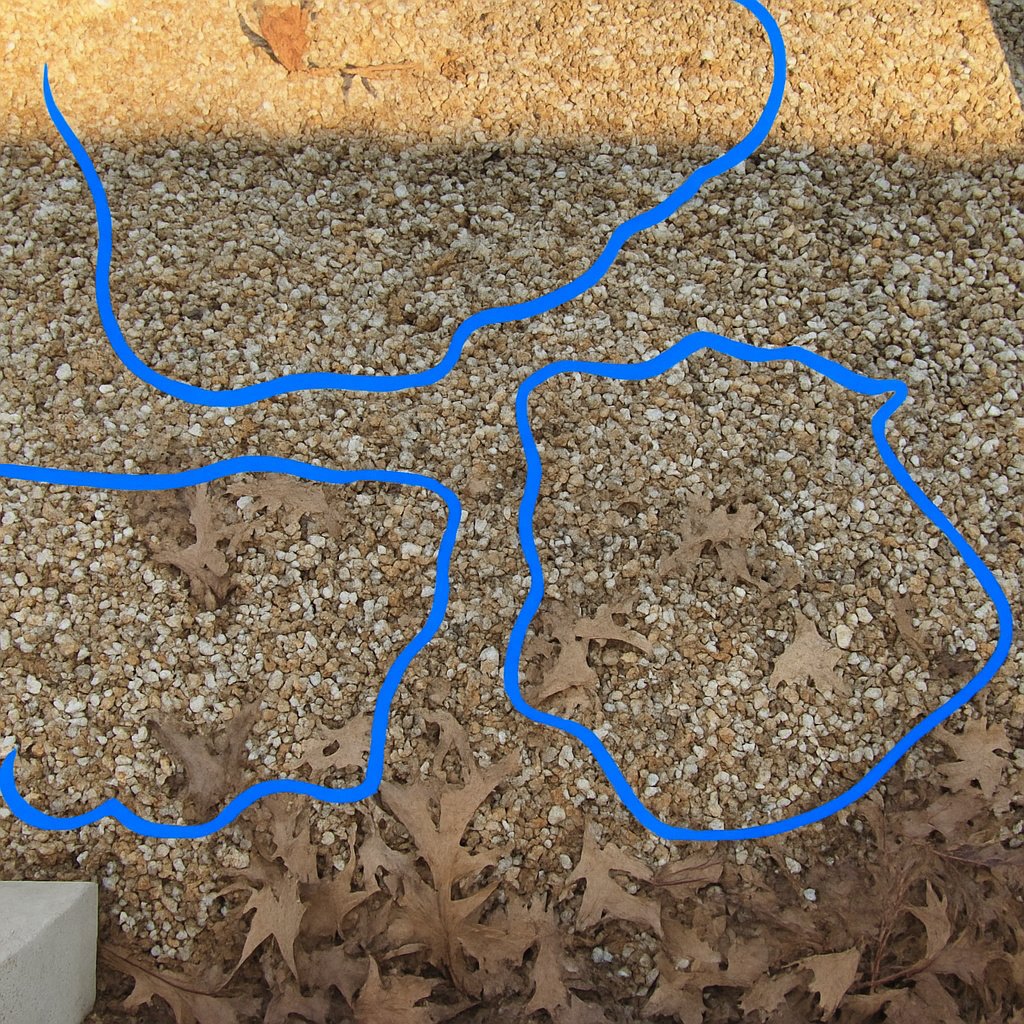
Making the Setting
The path was already pebbled which meant that I had to remove any loose pebbles from the area that I intended to put the stepping stones. The surface was not even, but as the concrete is self leveling, I did not fret about perfect levels at this stage. You can always level the surface of the concrete as you progress.
Crafting the Stepping Stones
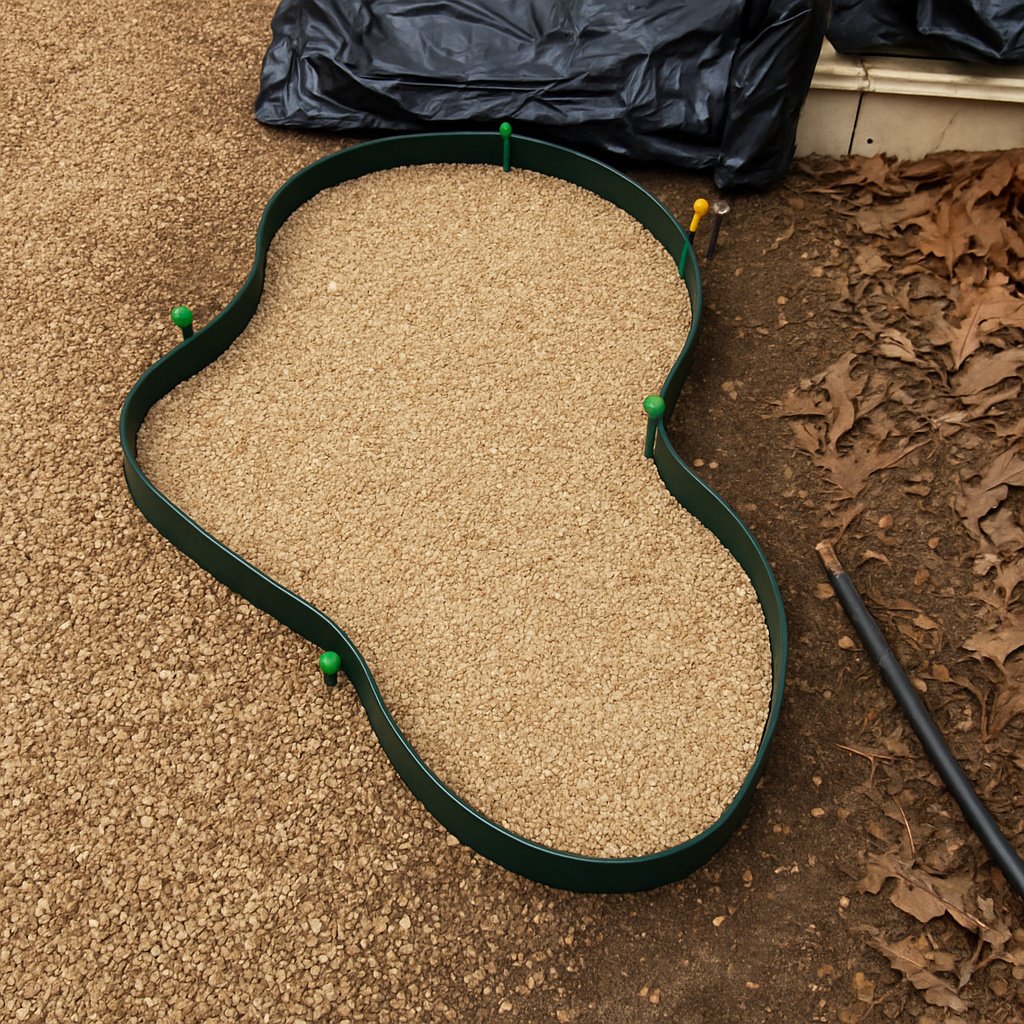
- Lay Out the Form: Prepare the mold by taping the ends of the straps together. This will help the mold hold shape. I even snapped some rods into the sides of the mold to give it more support. For extra stability, drive a few garden hooks into the dirt next to the mold
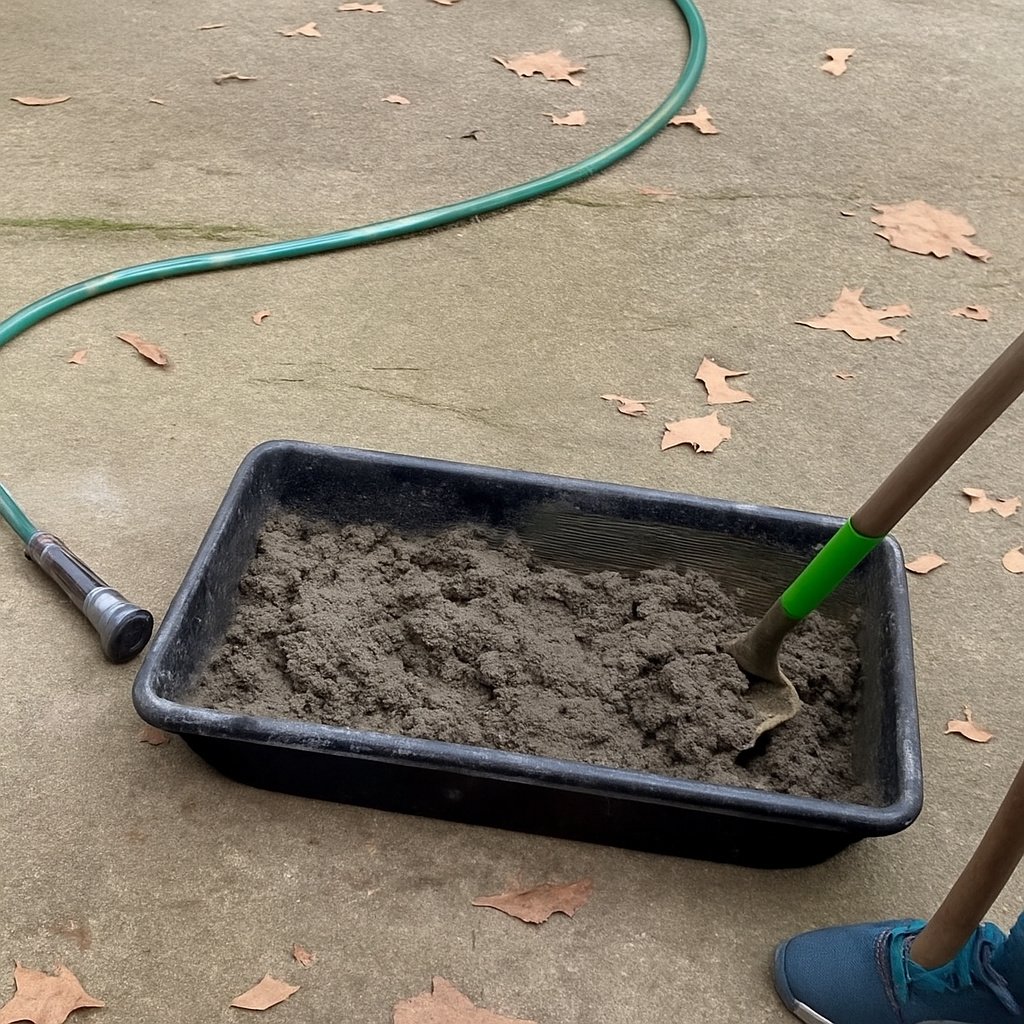
- Mix Up Paint: Pour the water into the mixing barrel first, then add the dry concrete mix. Be sure to incorporate the mix slowly to reduce mess and make things easier. Aim for a peanut butter-like consistency when forming the mixture. Make sure to keep some of the concrete dry for the paint to be added later.
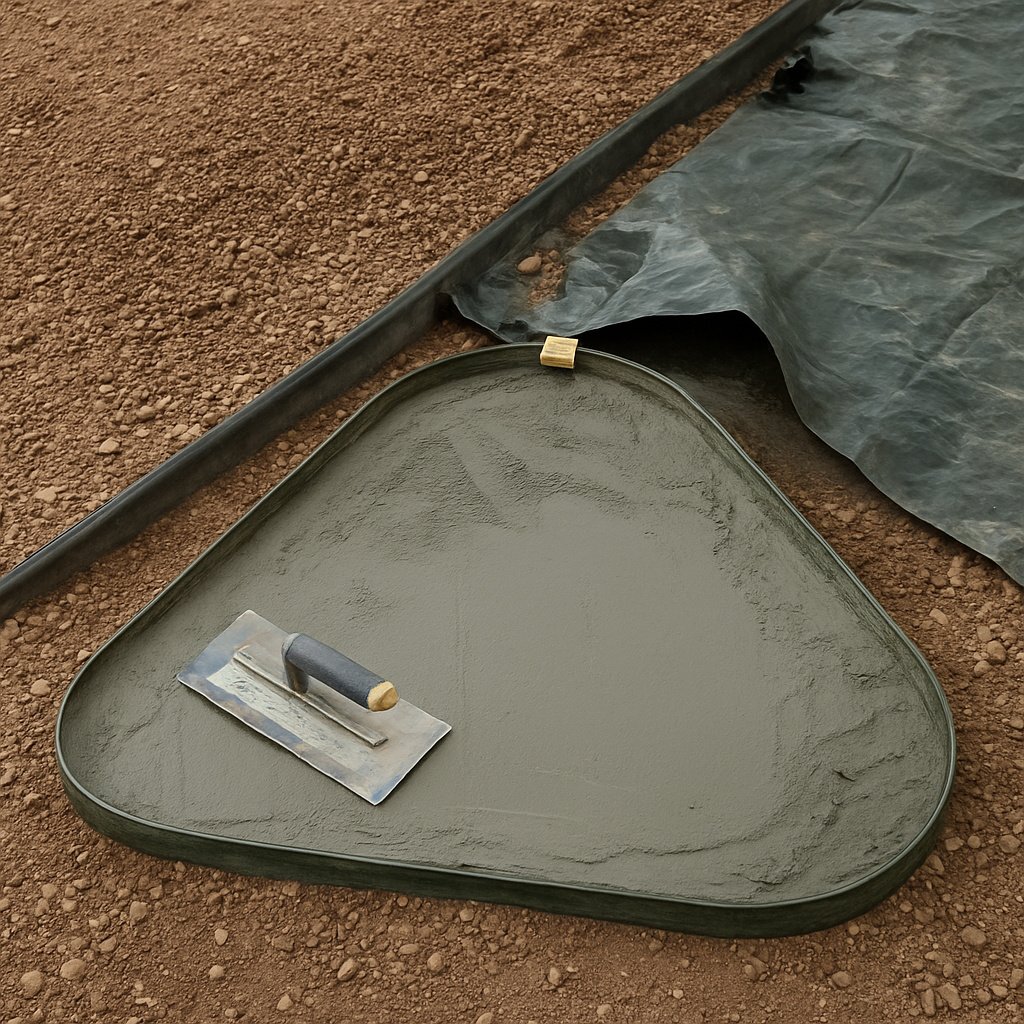
- Settle and Pour: As you pour concrete, use the shovel to spread it out to form the base layer (around 1.5 inches deep). Use a trowel to make the surface flat. You can paint the top layer after the base layer has been cured.
Enhancing the Top Layer: First mix your desired color (natural color schemes work best, so charcoal is a good option) with the leftover concrete. Pour this into the bottom layer and level out with the trowel. Then, use a brush to mix in the accent colors
Coloring The Top Layer
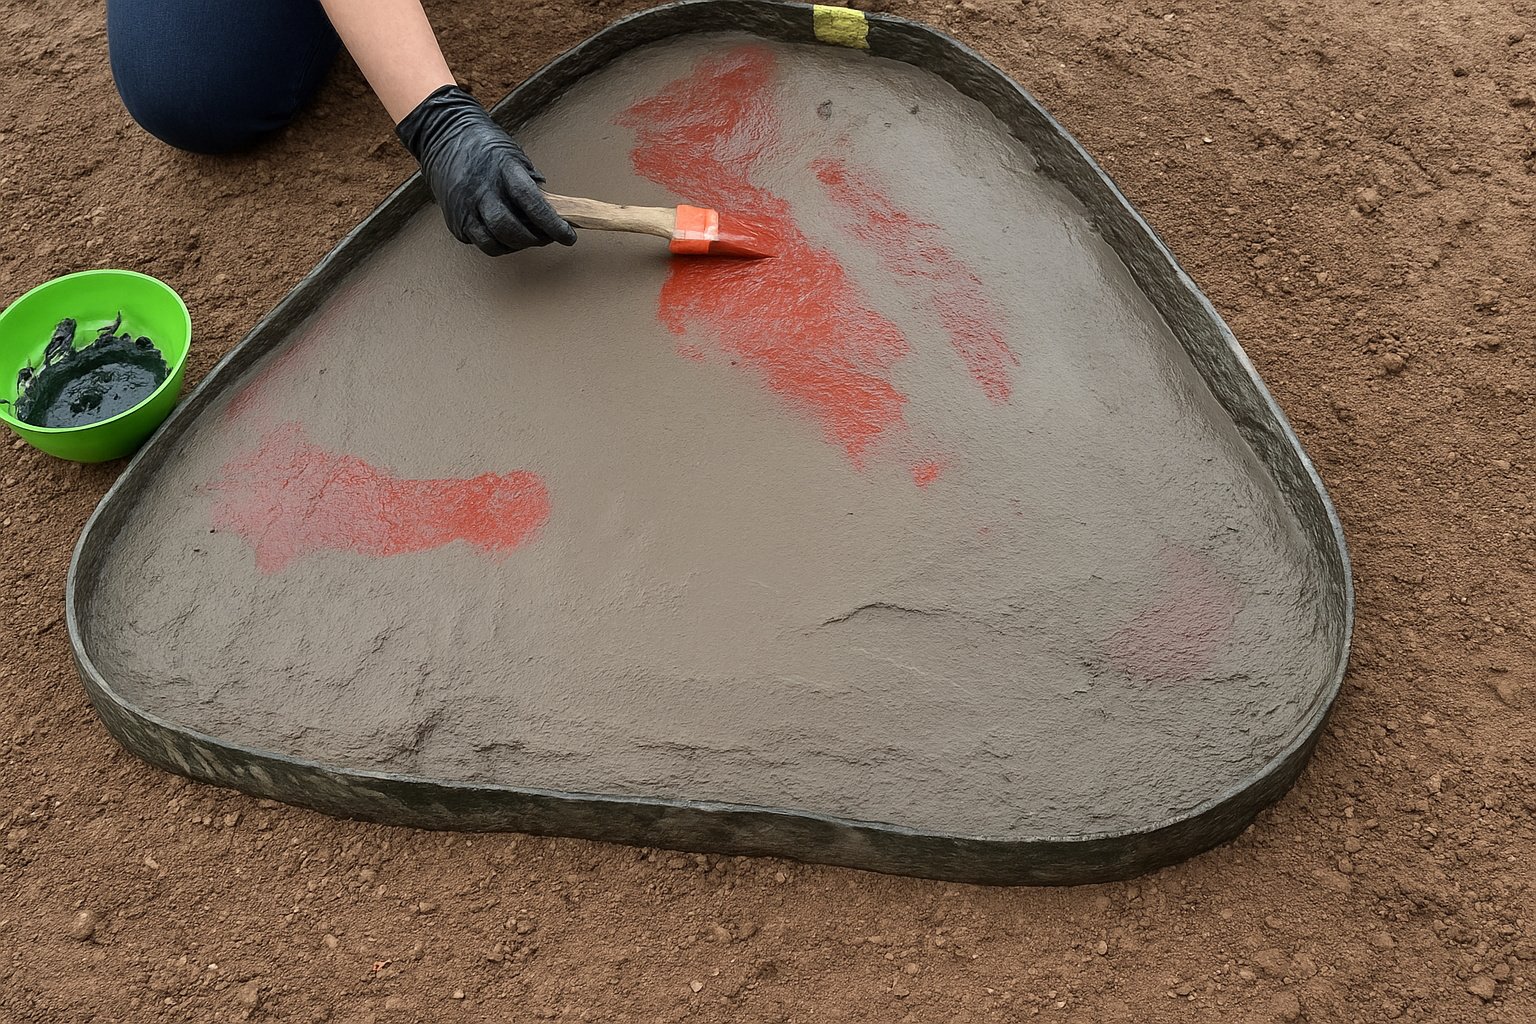
- Accent with Colors: Remember to use a coarse paintbrush and mix the color you want to paint with water. Once mixed, paint accent colors onto the stone, making sure to blend in with the natural colors. Aim water towards your red pigment if you choose it, so you can reduce the power it has. When blending, pour water on the stone to make the colors less saturated.
- Impart Texture: Use plastic wraps as gloves and lightly tap the plain surface of the stone- this achieves a stone-like look. This technique will combine the different colors together making the stone more life-like.
Curing and Sealing
Before stepping on the stones, leave cure for at least 24 hours, with 3-5 days being optimal. It is advised to cover the stone, especially during the pollen season to avoid staining on the first day. Avoid leaning heavy on the stones as concrete needs about 3-4 weeks to fully harden and the stones should be solely rested on.
“I didn’t seal my stones but to avoid them from staining or fading, you can apply an outdoor concrete sealer. Just be sure to test a patch first so it does not change the color.”
This is a simple and cost-effective way of creating DIY stones that resemble natural stones, giving character and a functional edge to any garden pathway.