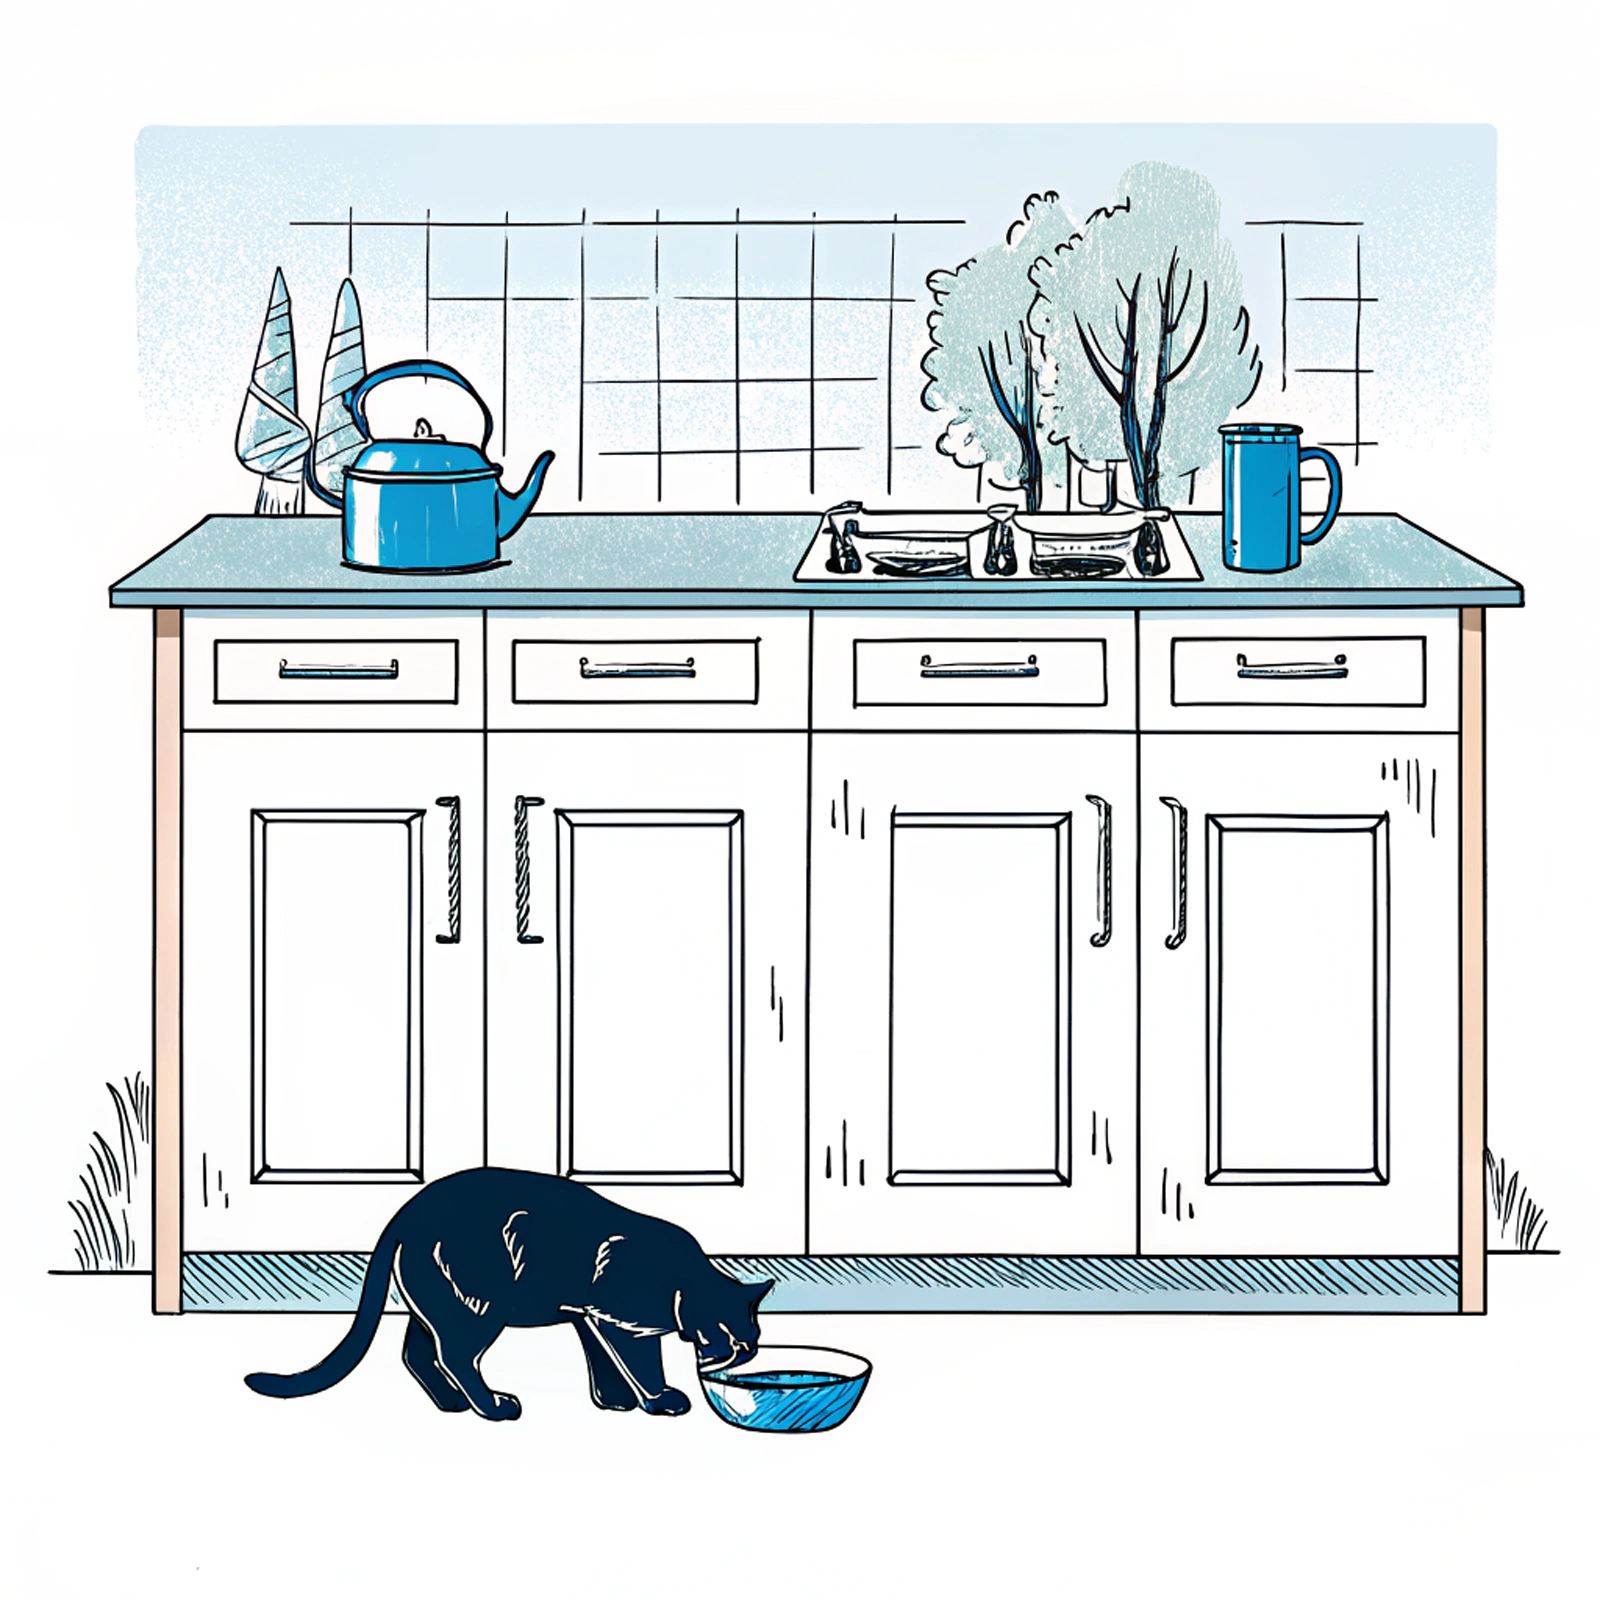
If there is one part of the kitchen that will surely be used all the time, it is the cabinetry—and after some time, those multi-tasking fixtures will start to show their wear and tear.
Chipping or peeling paint should raise red flags and tell you it is time to replace your cabinets. In addition, older cabinet doors are prone to warping and, in rare situations, may fail to close completely due to water damage or corroded hardware. When those items become irreparable, it is time to replace them.
Replacing your cabinets means addressing a number of issues and it is more suitable for seasoned DIYers—and for those not scared to seek out professional help. Don’t forget about the budget: The initial fee for cabinetry costs around $1000, which can go up depending on factors like paint and hardware, landscaping and plumbing, geographic area, and time. If you’re willing to take on the challenge, here’s how you do it.
1. Identify Items That Need Replacing
Some cabinets that you had earlier may be restorable. If they can be sanded down and repainted, it’s likely you can work with them to save some money. Mark the cabinets that seem like they can be used by putting notes on them, and make arrangements for the ones that you cannot use. Fun fact: You can actually donate cabinets to your local thrift store. It’s a great way to avoid a landfill.
You’ll want to start completely fresh. Others have shared that it’s best to begin anew when looking for a new aesthetic. We recommend that, If there is a charm to the existing cabinets that aren’t irreparable, then you could install new ones that complement the old ones. It can also be done by matching colors and styles, as well as using the same hardware. You will avoid needing to be super crafty and can easily modernize the older cabinetry.
On rare occasions, the kitchen works well but feels like you are in a cave when attempting to walk around the space. This is one of those instances where the space can be worked on for better practicality.
2. Plan Out Your Layout
Identifying problems is the first step of the solution. When you have decided what your issues are, think if it is possible to expand the size of the cooking space. Also, are there any locations on the wall suitable for that? Will the new design allow more natural light?
The option of adding a new window or widening the existing one to capture more light within the space is interesting. We posit that the traditional configuration where the sink, cooktop, and fridge are all nine feet within range of each other is an effective approach. When working on these appliances, one significant factor is the decision of whether or not a panel-ready appliance should be used so that the appliance could match with the rest of the cabinets.
Finally, decide whether or not you want deeper drawers, open shelving, and space for an island or peninsula. Drawers are effortless to work with when it comes to design solutions, and they are incredibly useful. For the open shelving debate, we recommend putting up an upper cabinet with an additional single shelf for quick access items such as mugs, salt and pepper shakers, dinner plates, and cutting boards.
3. Go For Your Cabinets
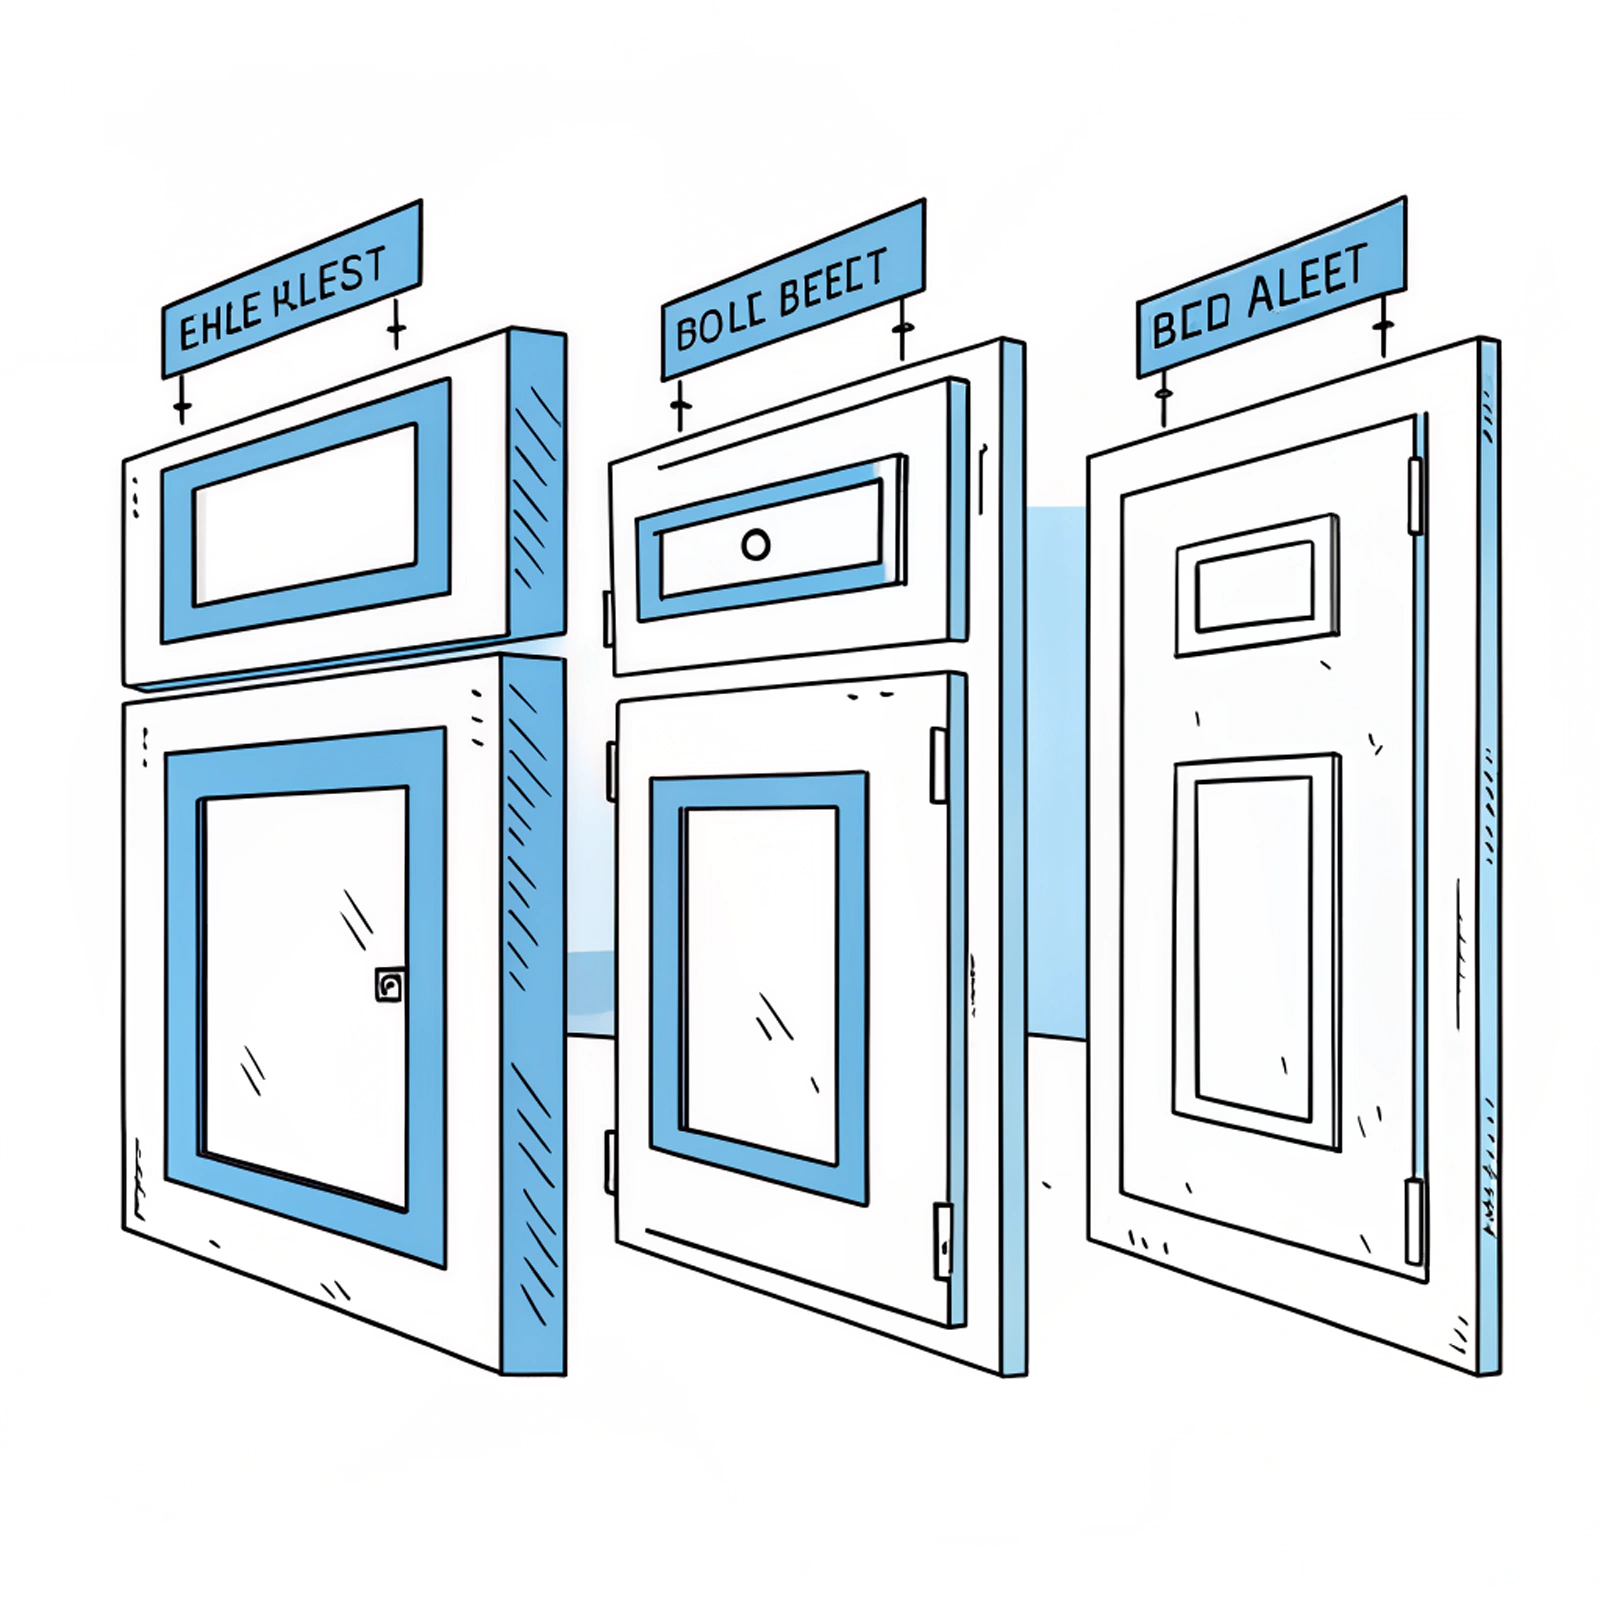
Your budget will definitely affect your choices, but in general, there are three kinds of cabinets, from least to most expensive: partial overlay, full overlay, and inset. Full overlay and inset seem to be the most popular at the moment, with full overlay doors sitting above the cabinet frame, and inset cabinet doors being set into the frame. Inset cabinets use more precise joinery, as the frame around the cabinets is visible. Besides cost, the general design of your home will help with this choice.
A home renovation blogger lives in a 100-year-old bungalow in San Diego, so she was looking for materials that matched its style. “I live in an old house in a hot market, so solid wood cabinetry was perfect for the house both for my family and in the future,” she says.
« I created a quote and picked out the supplier for the cabinets, knowing I needed inset cabinets for the classical style I was going for. Then I checked how much the renovation would cost. »
Decide where you will purchase your cabinetry. There are many companies that focus on direct sales. The majority break down the cabinetry into simpler components that you can buy like boxes, doors, and drawers. We suggest budget brands that use IKEA cabinet boxes and custom fronts like Reform and Superfront. Plain English and Devol offer more high-end options.
As far as cabinets are concerned, there are no unexpected expenses because it’s something that is always ordered as a set. Put your efforts into budgeting for every other cost and assume there would be unexpected costs for labor and finishes.
You can also opt to cut down on waste by looking for cabinets that have been reclaimed. You’d be shocked how many stylish cabinet-grade kitchens are ripped out of beautiful homes and sold at places like ReStore by Habitat for Humanity.
4. Prepare for Demolition
Before ripping anything out, Meghan, cabinets seller at The Home Depot, suggests that a Dumpster be rented beforehand, considering how much material the gutting process leaves behind.
Once a place for debris is determined, box and store all of the kitchen stuff, and turn off the electricity, water, and gas. Next, she recommends using dollies and moving carts to remove the appliances. After that, remove the doors and drawers. Finally, ensure the work area is clean: « Heavy plastic sheeting is a great way to help contain any mess, » she adds.
Regardless of how experienced you are with DIY, Meghan suggests that a professional assess the kitchen before any dust is kicked up. “Talking to a licensed builder or general contractor beforehand is critical for ensuring all goes well,” she states. The pro will be able to double-check load-bearing walls, potential electrical and plumbing problems, and other details concerning the scope of your plan.
5. Painting Your Cabinets (If You Would Like To)
If you want, you can add a coat of paint to your cabinets. Little sample pots can always help. Take home a few colors, try them on different cabinets, and then observe them at different times of day with different types of light. Additionally, remember to consider the finish as well. Be sure to consult with a professional at the paint store, so they can guide you on the right paint selection for your countertops.
It is easier to paint your cabinets before they are installed. The general contractor at the construction company Grada Inc., Slavik Garanovsky recommends that you separate the frames from the drawers and doors. Before going outside, ensure you label all pieces. Get the wood ready by sanding with either 120 or 150-grit sandpaper. Garanovsky recommends using a fast-drying primer, sanding in between coats, and applying two finish coats. “Use a light to find any dents, and make sure to fill them in,” he says.
6. Come Up With a Plan
A manager who works at Lowe’s, emphasizes the importance of having a working scheme. He states, “Draft a primary sketch first, then record all wall, door, and window measurements from the outer side of the casing. Additionally, measure and record the distance from the floor to the bottom of the windows, the bottom of the windows to the top of the windows, and the top of the windows to the ceiling.” These final details will help ensure everything stays within measure and on layout. “You should also make a note of the plumbing, gas, and electric lines on your sketch as you proceed.” This foundational stage will also assist much later with the placement of the cabinetry.
7. Uninstall Old Cabinets and Doors
To begin, we suggest unscrewing all lights and appliances located on the electrical panel, cutting off the water, and finally the power. Following that, you can go ahead and remove all trim. It would be best to slice the caulking to reduce the amount of drywall work that will have to be done. Make sure to label everything you intend to donate while removing the drawers and taking the doors off the hinges.
8. Remove the Old Drawers and Doors
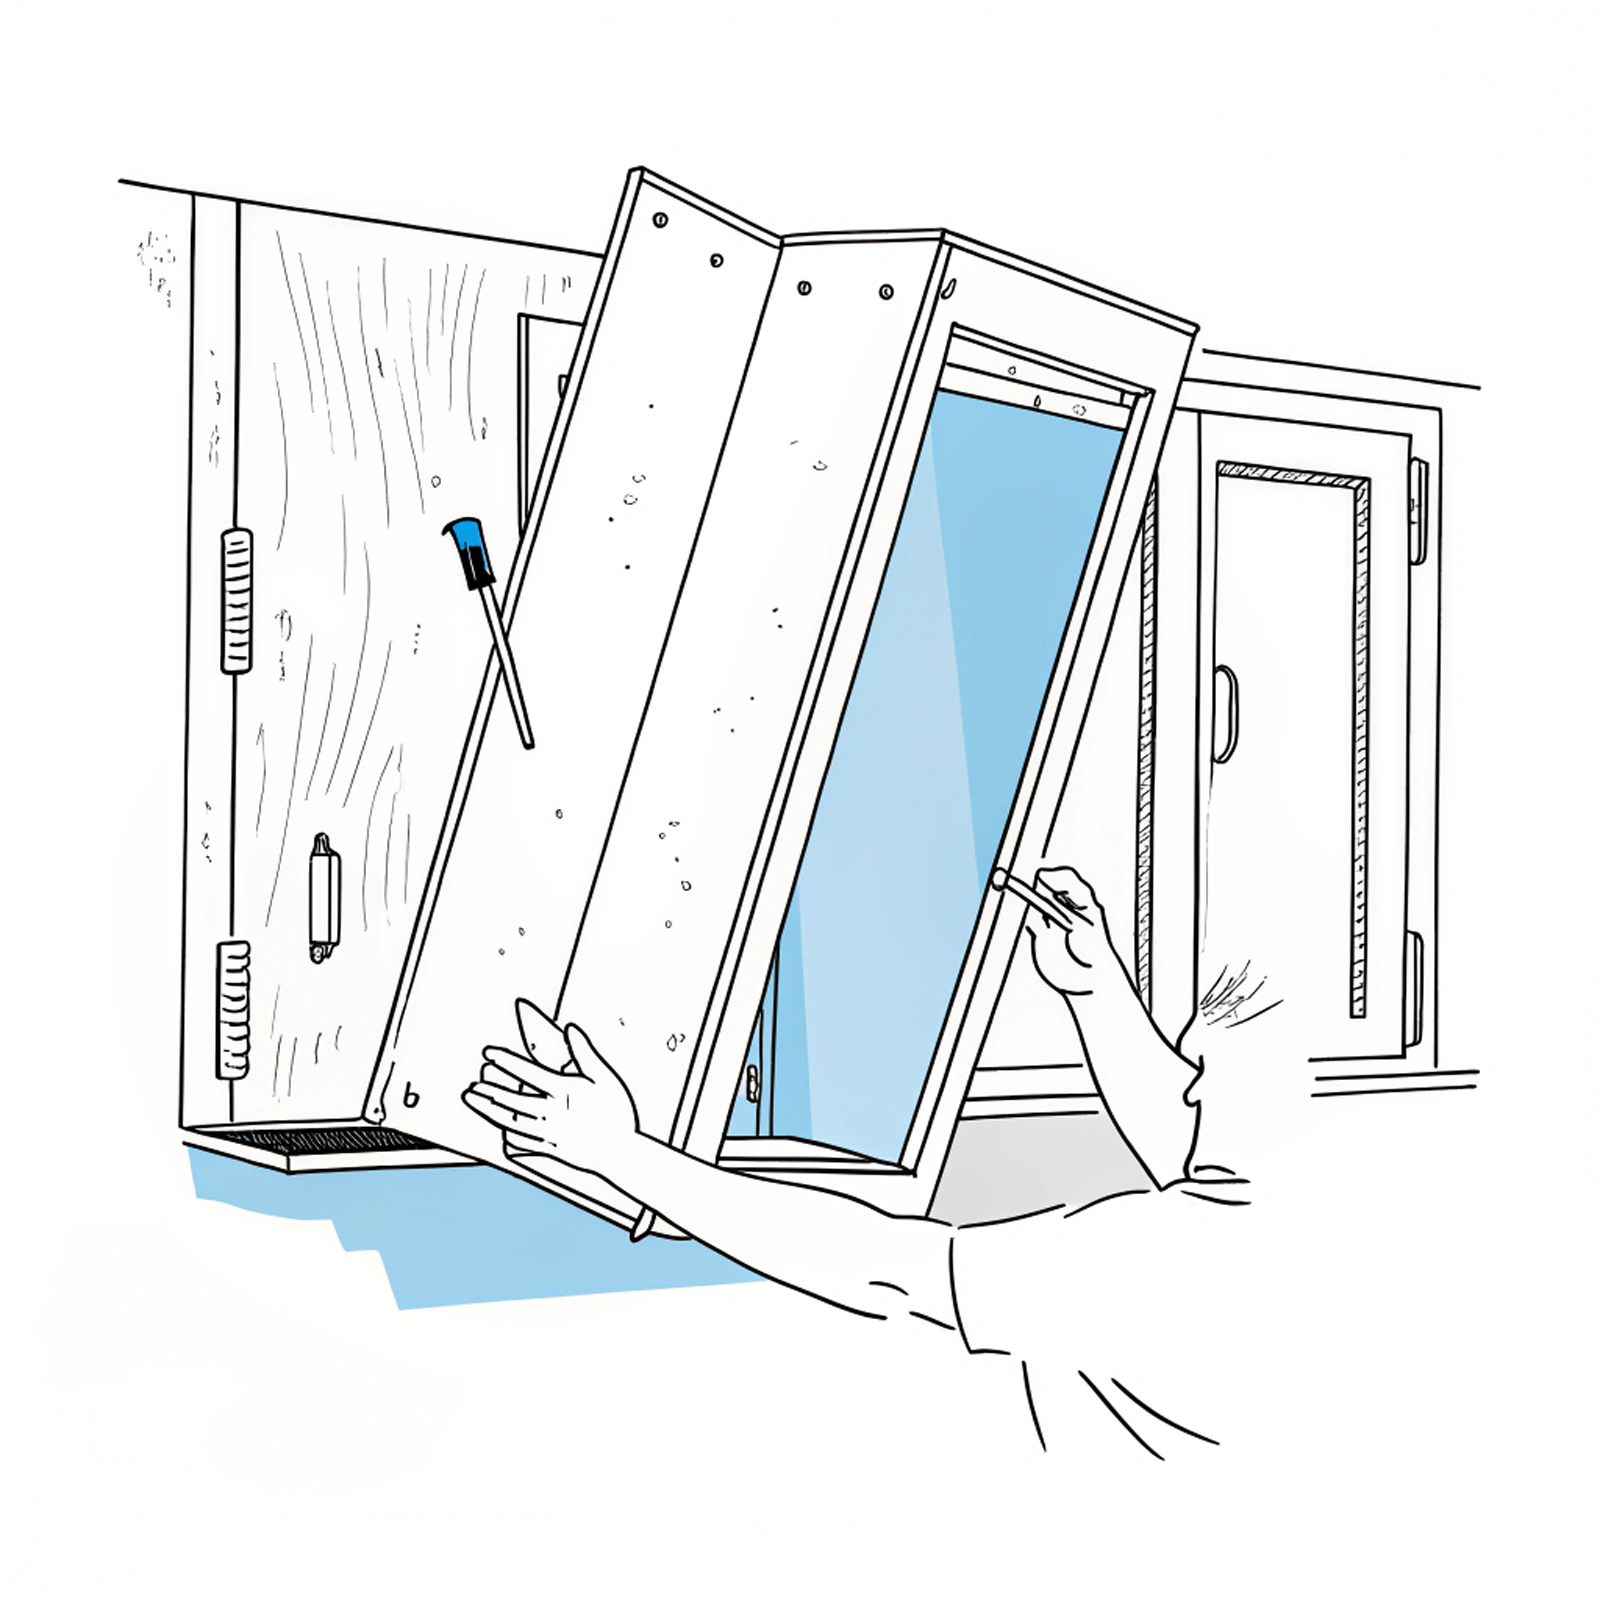
Next, unscrew one cabinet from the other with a screwdriver, and—with a partner holding the cabinet—take it off the wall. If the cabinets are held together with nails and staples, use a pry bar. After that, take out the countertops and backsplashes, and if they’re stone or concrete, call a professional for help. Then, do the same for the lower cabinets. If you are planning to reuse or donate the countertops and backsplashes, you can likely salvage them, so be careful. Some flooring replacement may also be needed if there is any damage.
As you pull down the cabinets, a few problems are bound to arise, especially with electrical wiring (which is common in older houses). If so, stop what you are doing—water damage, cracks in your foundation, and questionable materials unearthed are also something to stop. Some drywall damage is common, although it does not require the intervention of a professional. It is wise to remove all cabinets and take care of the drywall before installing new ones.
9. Fix In The Lower Cabinets
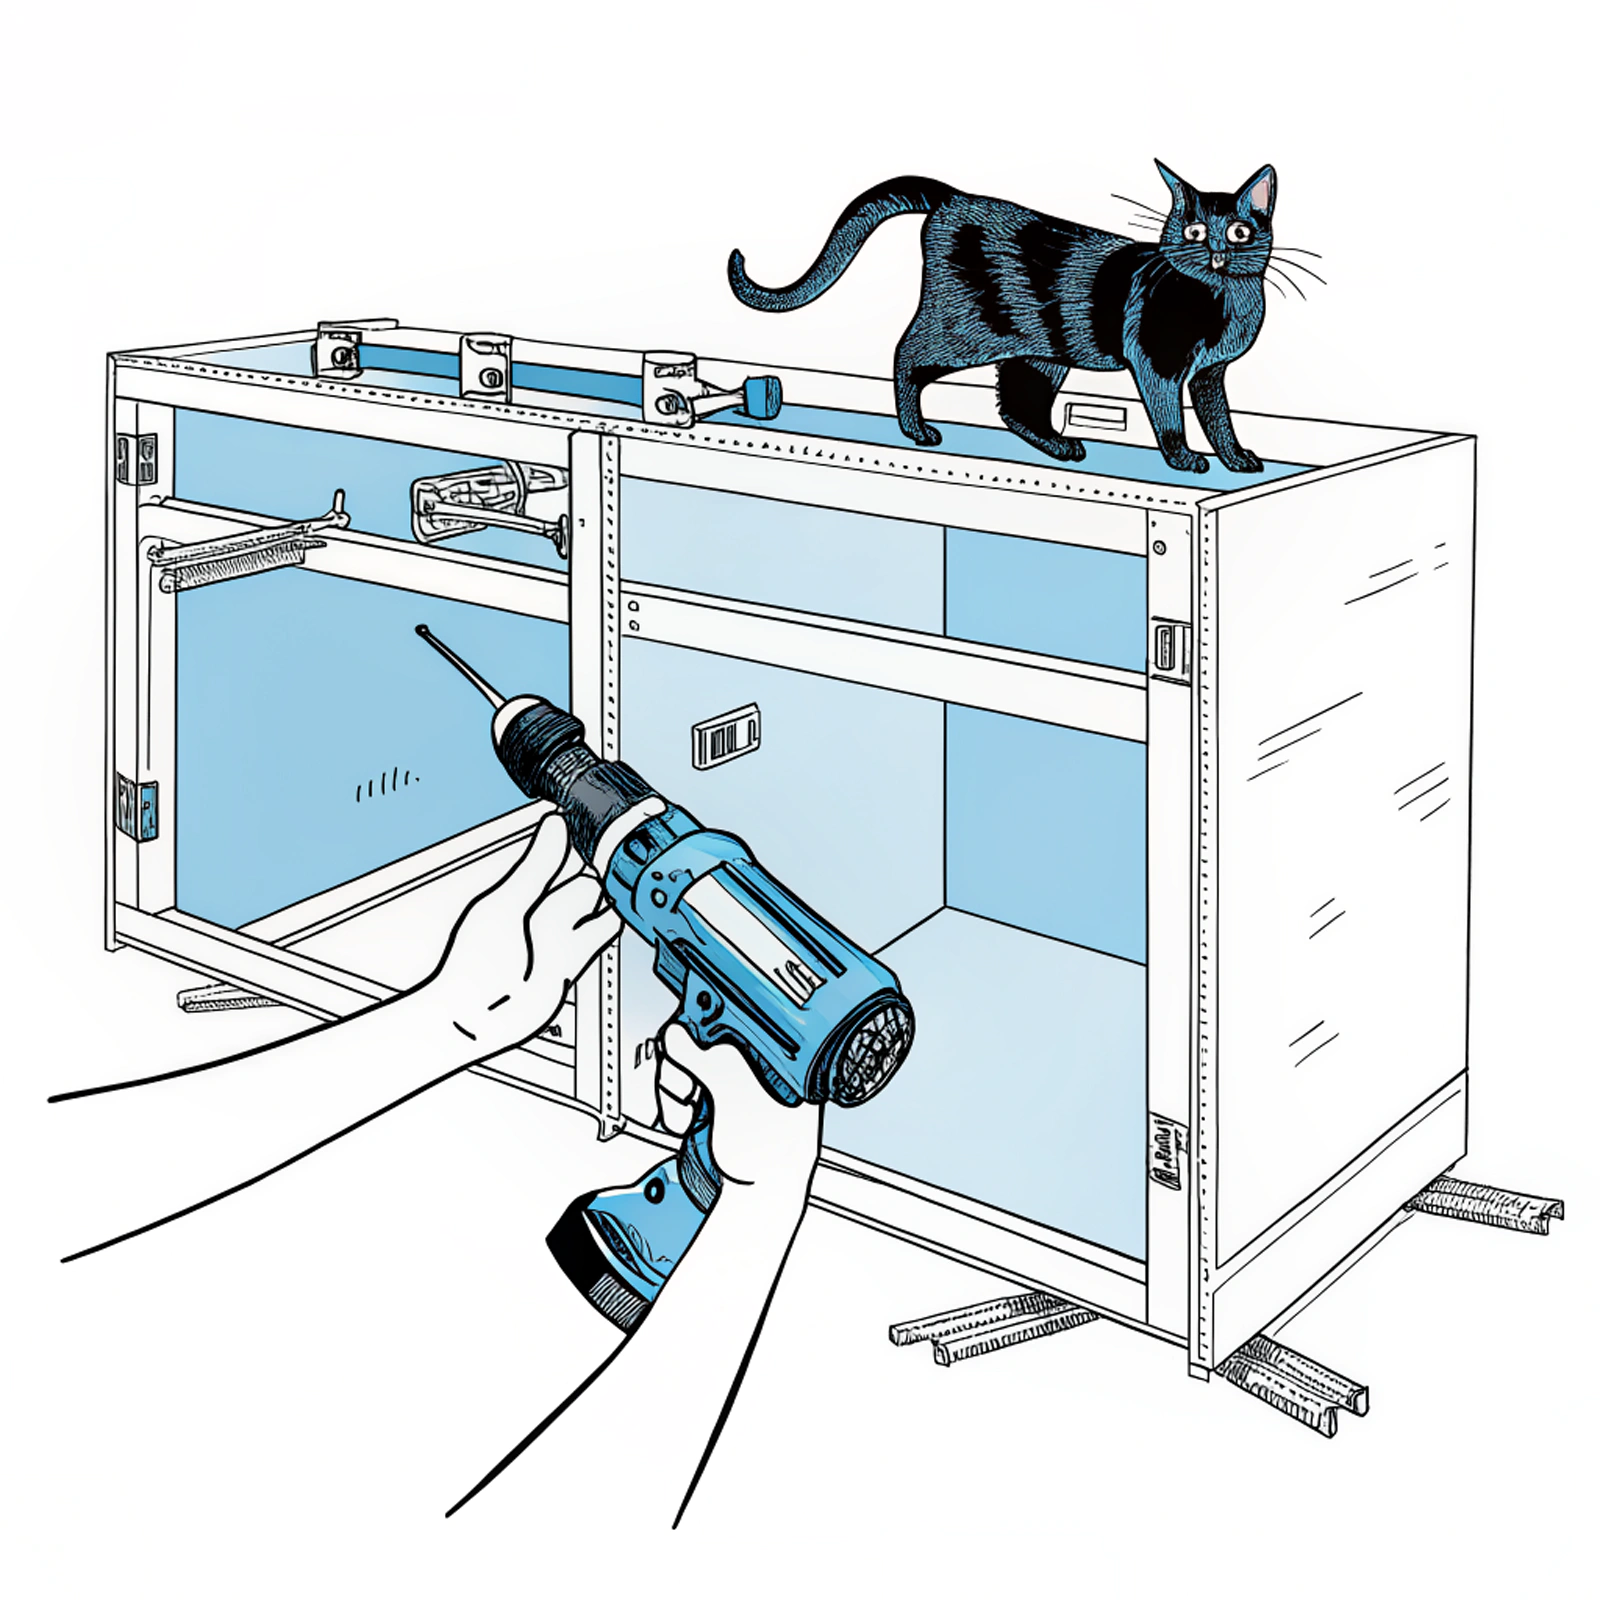
If you are putting in new cabinets yourself, do not get frustrated – it is difficult even for the best craftsmen. Take your six-foot level with you and locate the highest point your floor has within your layout. Garanovsky says if you want a flat layout from the beginning, you should start your installation with the lowest cabinets first. “It’s easier to shim under the cabinets on the lower spots to make them level, rather than starting on a low point and having to trim the bottoms of the cabinets while working uphill,” he adds.
Use shims to hold each cabinet-level both vertically and horizontally, then clamp the cabinets together. Screw together the cabinet at the front by the door hinge and then at the top, mid, and bottom of the box. For a clean look, work behind the hinges. Then, using a stud finder, go ahead and nail the cabinets to the studs in the wall. “An uneven floor can wreak havoc on the project, so make sure each component is level, front to back and side to side, after that cabinet has been installed,” McCoy notes.
10. Installing Upper Cabinets
This process should be repeated for the upper cabinets.
As always, remember that spacing is important,” he says. “Start from the centermost point of the design and work your way out by dry laying the cabinets on the floor.” After the cabinets are up, the last step is to nail the new moldings in place. To complete, caulk the gaps, cover all screw holes, and paint the moldings.
11. Attach the Cabinet Hardware
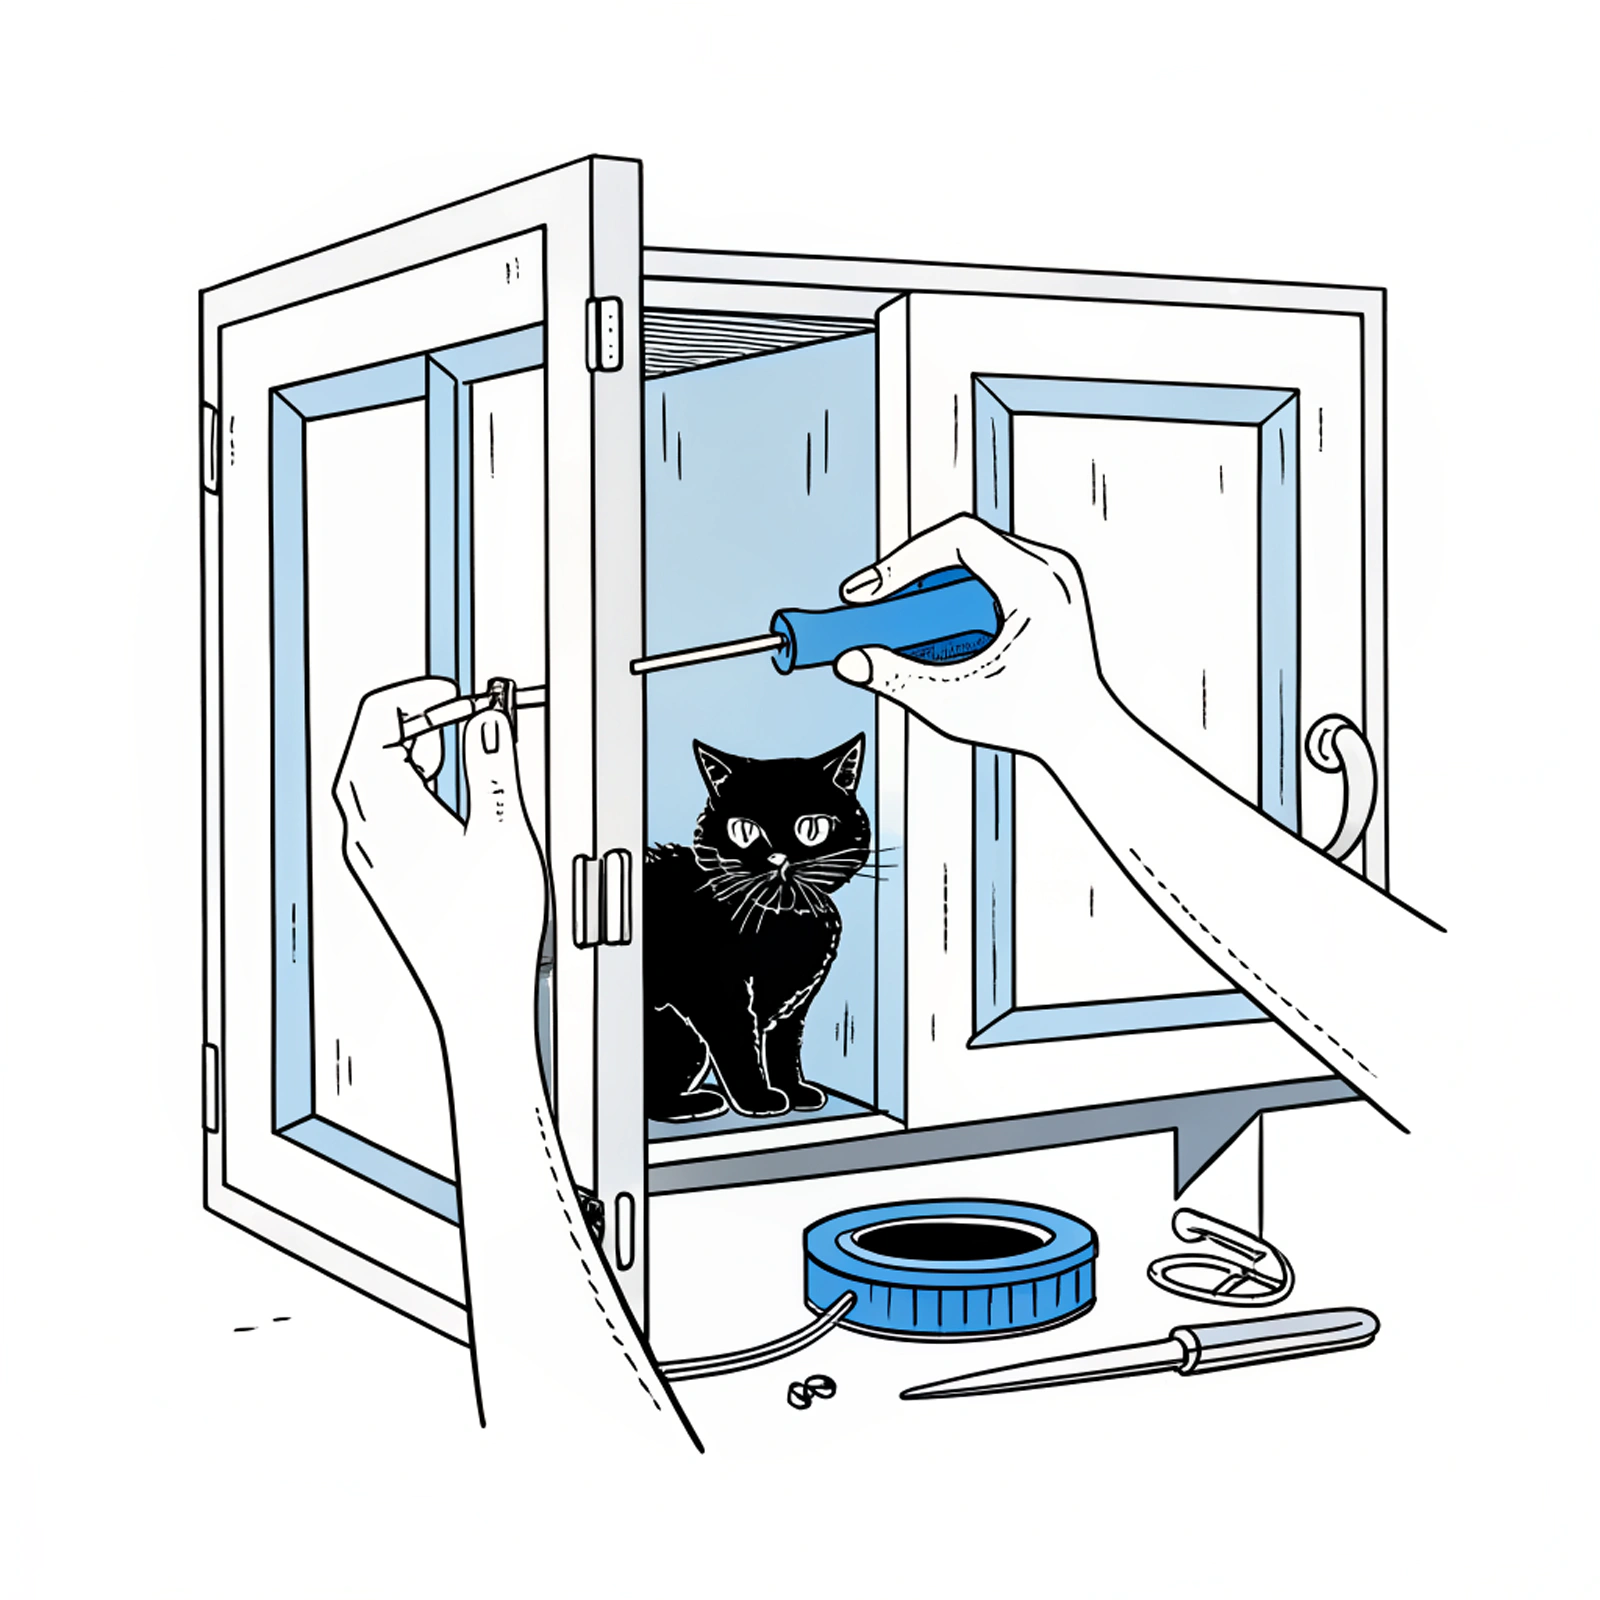
Cabinets look incomplete without the right finishing pieces. According to Gater, these extra expenses are justified. “Cabinet hardware should be the one thing you splurge on,” he explains. “Cabinet pulls and knobs are like the jewelry that pull together the entire kitchen.”
Knobs usually suit the upper cabinets, and lower ones are better with pulls. The right materials used to make the hardware will develop a patina over time. When all the hardware is selected, here is a tip from Gater on how to install it. “Use painter’s tape on all your cabinets so you can visualize where you’d like the hardware to go and what the hardware is going to look like.”
In order to have the knobs and pulls perfectly aligned, consider using a professional template. Gater states, “They’re usually under $20, and you will save a ton of stress because if you don’t get your positioning right, filling holes in cabinets is going to cost a lot of money to fix.”
Mark the position of the hole with a pencil using your template, then drill the hole with a 3/16-inch drill bit. Do the same for every cabinet, and after that, hand screw in your hardware.